Professional marble restoration uses diamond abrasives and specialized techniques to remove damage and restore original shine—without replacing your stone surfaces.
Share:
Summary:
Restoration removes the damaged surface of your marble and exposes fresh stone underneath. Think of it like refinishing a hardwood floor—you’re taking off the worn layer to reveal what’s been hiding below.
The process uses progressively finer diamond abrasives, starting with coarse grits that cut away scratches and lippage, then moving through finer grits that smooth and polish the surface. Each step builds on the previous one. Skipping stages or using the wrong grit sequence leaves visible flaws in the final result.
Most Nassau County, NY homeowners are surprised to learn that what looks like a stain is often etching—actual damage to the marble’s surface from acids eating into the calcium carbonate. Regular cleaning can’t fix this because the stone structure itself has changed. Restoration mechanically removes that damaged layer, which is why it works when cleaning fails. This same process applies whether you need marble walls restoration in your shower, countertop polishing in your kitchen, or historic floor renewal throughout your Suffolk County, NY home.
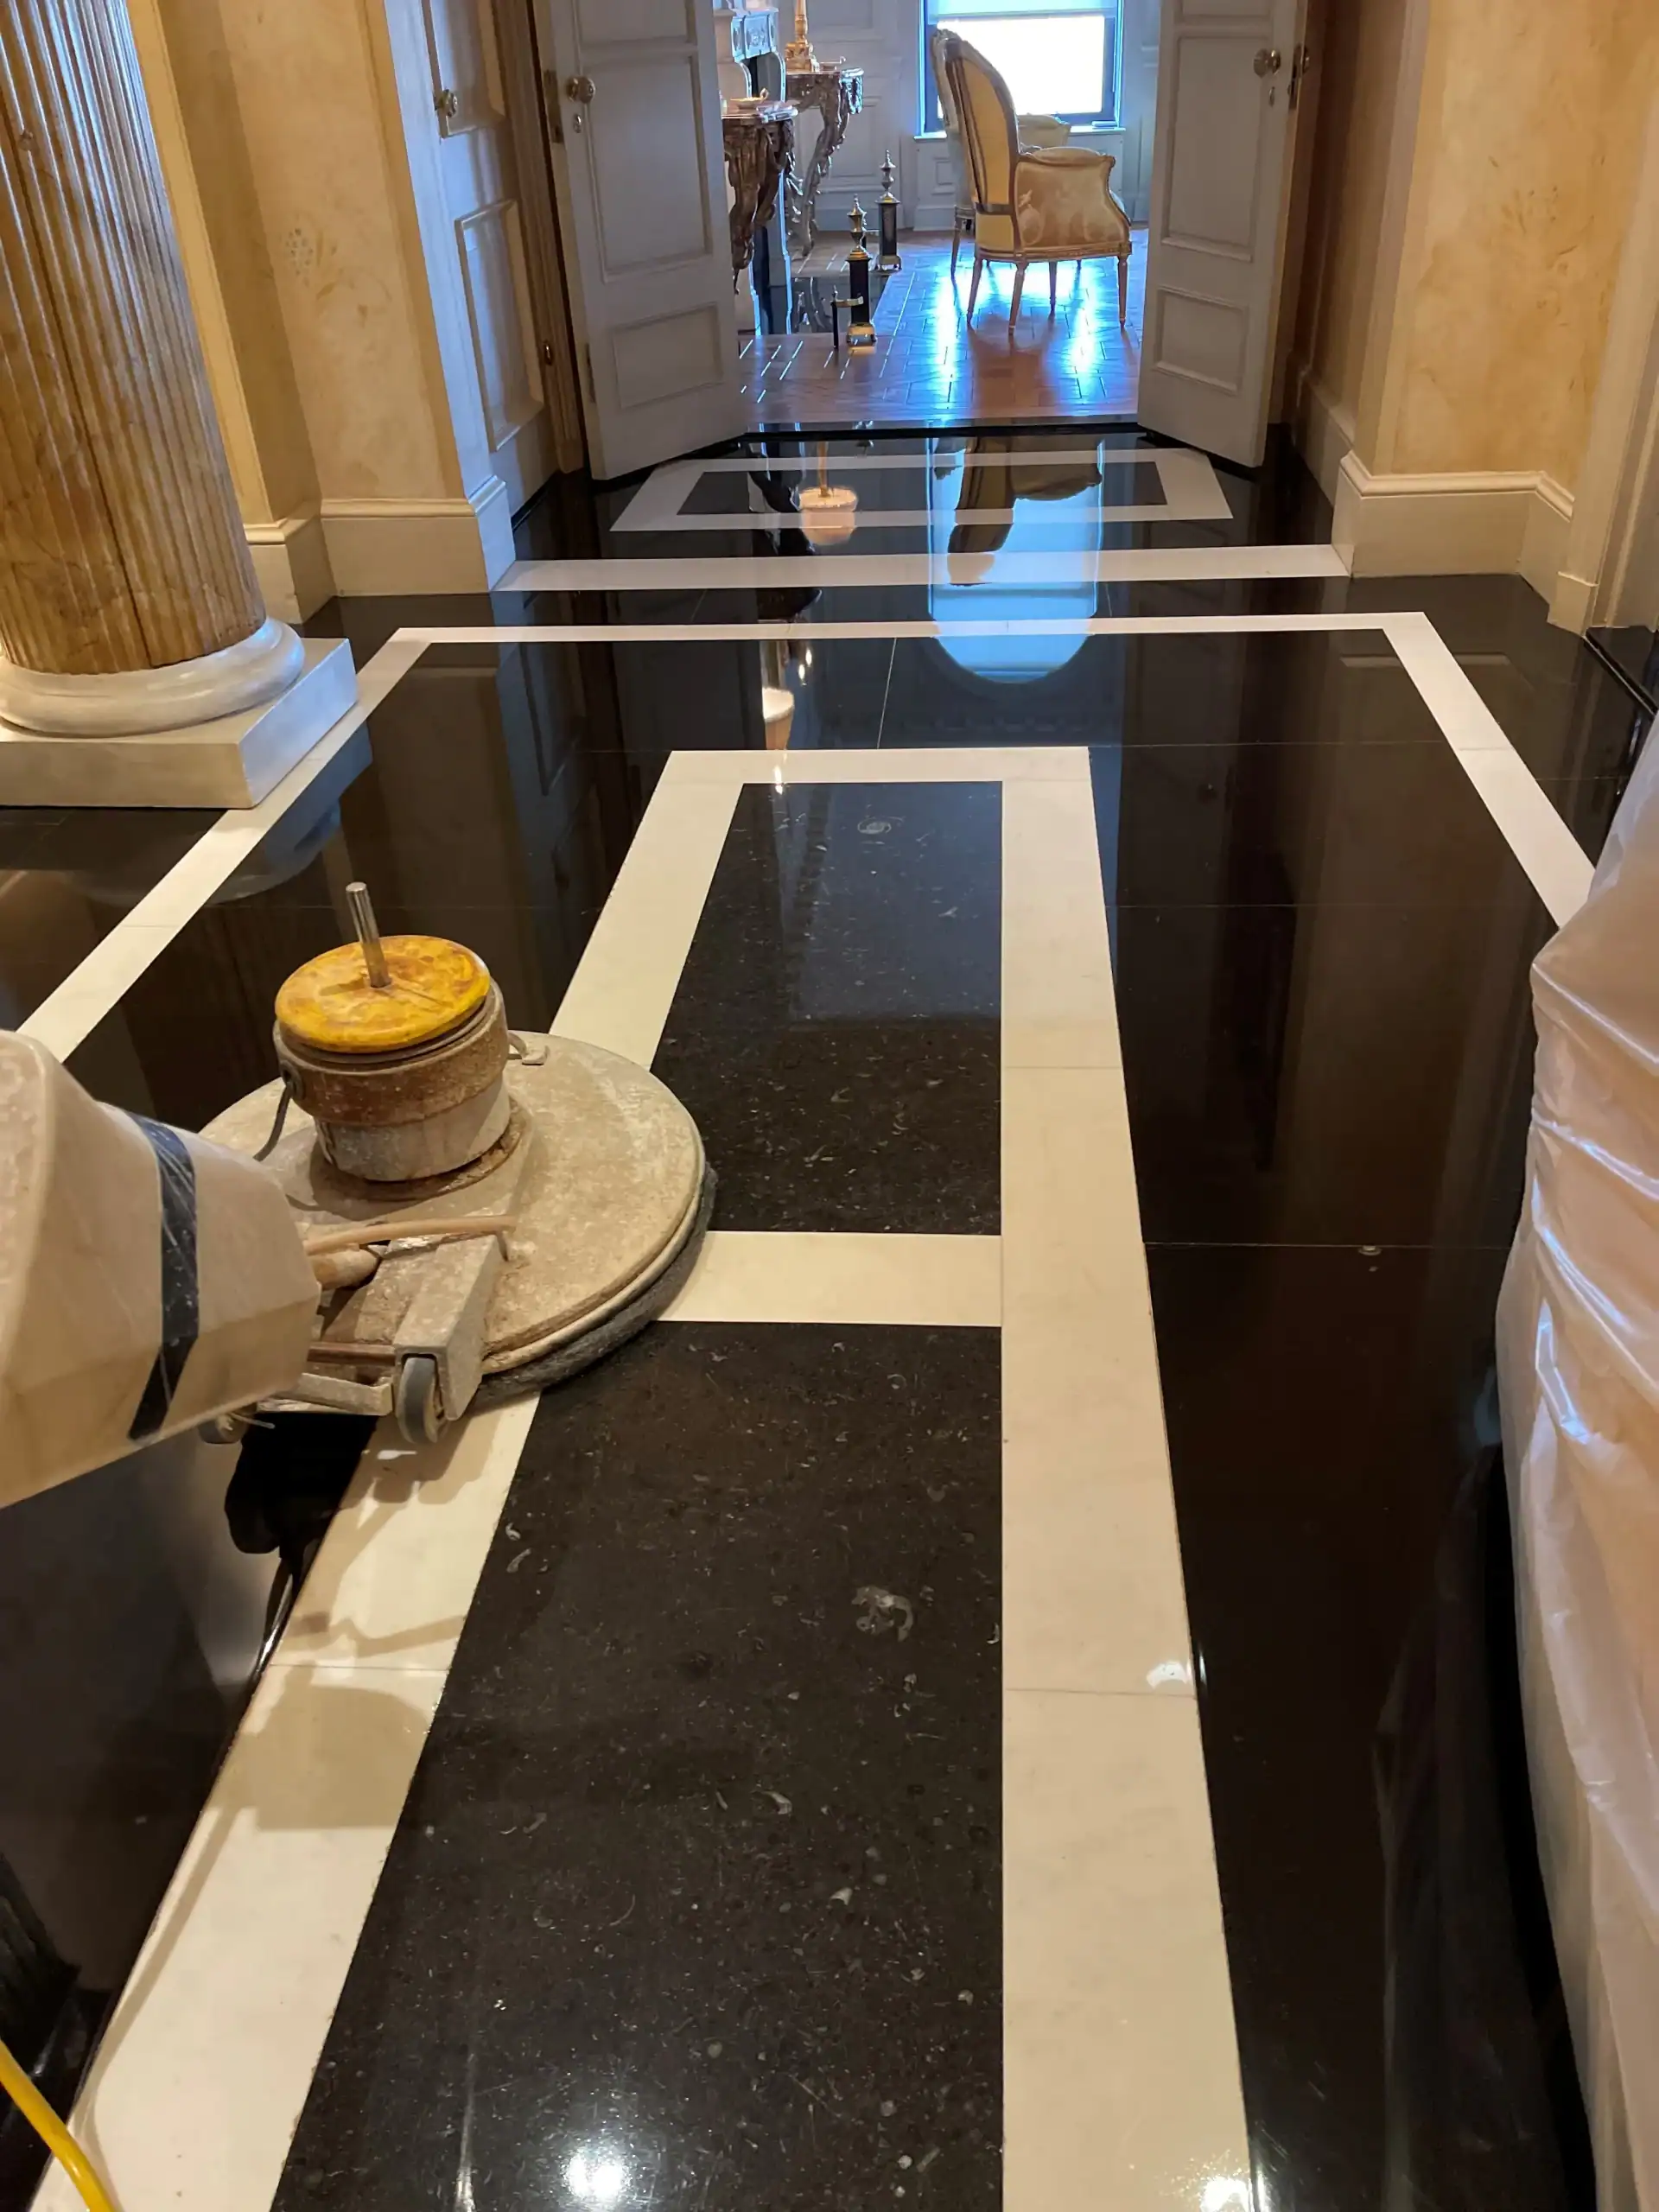
Grinding is the first and most aggressive step in marble restoration. It’s necessary when your marble has deep scratches, significant lippage—those uneven tiles you can feel when walking barefoot—or widespread surface damage that lighter techniques can’t address.
The marble grinding service uses metal-bonded diamond pads in coarse grits, typically starting around 50 to 120 grit, attached to weighted floor machines or handheld grinders. Water flows continuously during grinding to control dust and cool the diamonds. This is why professional restoration is virtually dust-free despite removing significant amounts of stone.
Grinding flattens the surface by removing high spots and leveling uneven areas. If you’ve ever noticed that some tiles in your floor sit higher than others, creating edges you can feel, that’s lippage. The grinding process eliminates those height differences, creating a uniform plane across the entire surface.
For homeowners dealing with historic marble in Nassau County, NY, grinding requires extra care. Century-old installations from Long Island’s Gold Coast estates often used different setting methods than modern thin-set, and aggressive grinding can damage the substrate or grout if not done correctly. This is where experience with period materials makes a real difference in results.
The depth of grinding depends on damage severity. Light grinding might remove only a fraction of a millimeter, while severe damage could require removing several millimeters of material. Thicker marble can withstand more aggressive grinding, which is one reason historic floors with substantial stone thickness are excellent candidates for restoration.
You’ll know grinding is necessary if you have scratches that catch your fingernail, visible chips or pits in the surface, or dullness that persists across large areas. Water rings, etch marks, and minor scratches often respond to honing without needing the grinding step. A professional assessment determines the right starting point for your specific situation, whether it’s marble walls restoration in your bathroom or floor refinishing in your entryway.
Honing follows grinding and removes the scratches that grinding creates. It’s also the starting point for marble that doesn’t need grinding—surfaces with light etching, minor scratches, or general dullness respond well to honing alone.
The marble honing and polishing process uses progressively finer diamond abrasives, typically ranging from 200 grit up to 3000 grit or higher. Each grit level removes the scratches from the previous grit while creating finer scratches of its own. By the time you reach 800 to 1500 grit, the scratches are so fine they’re invisible to the naked eye, and the marble develops a smooth, satin appearance.
Think of honing like sanding wood. You wouldn’t jump from 60-grit sandpaper straight to 400-grit because the coarse scratches would still show through. The same principle applies to marble. Skipping grit levels leaves visible marks that become obvious once polishing begins.
Water plays a critical role during honing. It lubricates the diamonds, prevents heat buildup that could crack the marble, and carries away the slurry of ground marble particles. Professional equipment delivers consistent water flow, which is why results from consumer-grade tools rarely match professional work—most homeowner equipment doesn’t maintain proper water volume or pressure.
The final honing grits—1500 to 3000—begin closing the marble’s pores. Under a microscope, you’d see the surface becoming increasingly smooth, with fewer and smaller valleys for liquids to penetrate. This pre-polishing stage is crucial for achieving a deep, reflective finish in the polishing step.
For honed finishes—marble intentionally left with a matte appearance rather than high gloss—honing is the final mechanical step before sealing. Many Suffolk County, NY homeowners prefer honed marble in high-traffic areas because it hides wear better than polished surfaces, though it requires more frequent sealing since the pores remain more open.
Different marble types respond differently to honing. Carrara marble, common in Long Island homes, hones beautifully and develops a soft, elegant appearance. Harder marbles like some imported varieties might require more aggressive techniques or additional passes to achieve the same smoothness. This is another area where understanding the specific stone type influences the natural stone restoration approach.
Want live answers?
Connect with a High Definition Marble Restoration Inc expert for fast, friendly support.
Polishing is where the transformation becomes dramatic. This step takes the smooth surface created by honing and develops the deep, reflective shine marble is known for.
Professional marble honing and polishing uses very fine diamond abrasives—often 3000 grit and higher—combined with polishing compounds. These compounds create a chemical reaction with the calcium carbonate in marble, forming a thin crystallized layer on the surface. This crystallization is what produces that mirror-like finish that reflects light so beautifully.
The polishing process requires specific pressure, speed, and technique. Too much pressure generates heat that can damage the marble or create uneven spots. Too little pressure won’t develop the full shine. Professional equipment maintains consistent RPMs and allows precise pressure control, which is why hand-polishing rarely achieves the same results as machine polishing for large surfaces like marble walls restoration projects or floor refinishing.
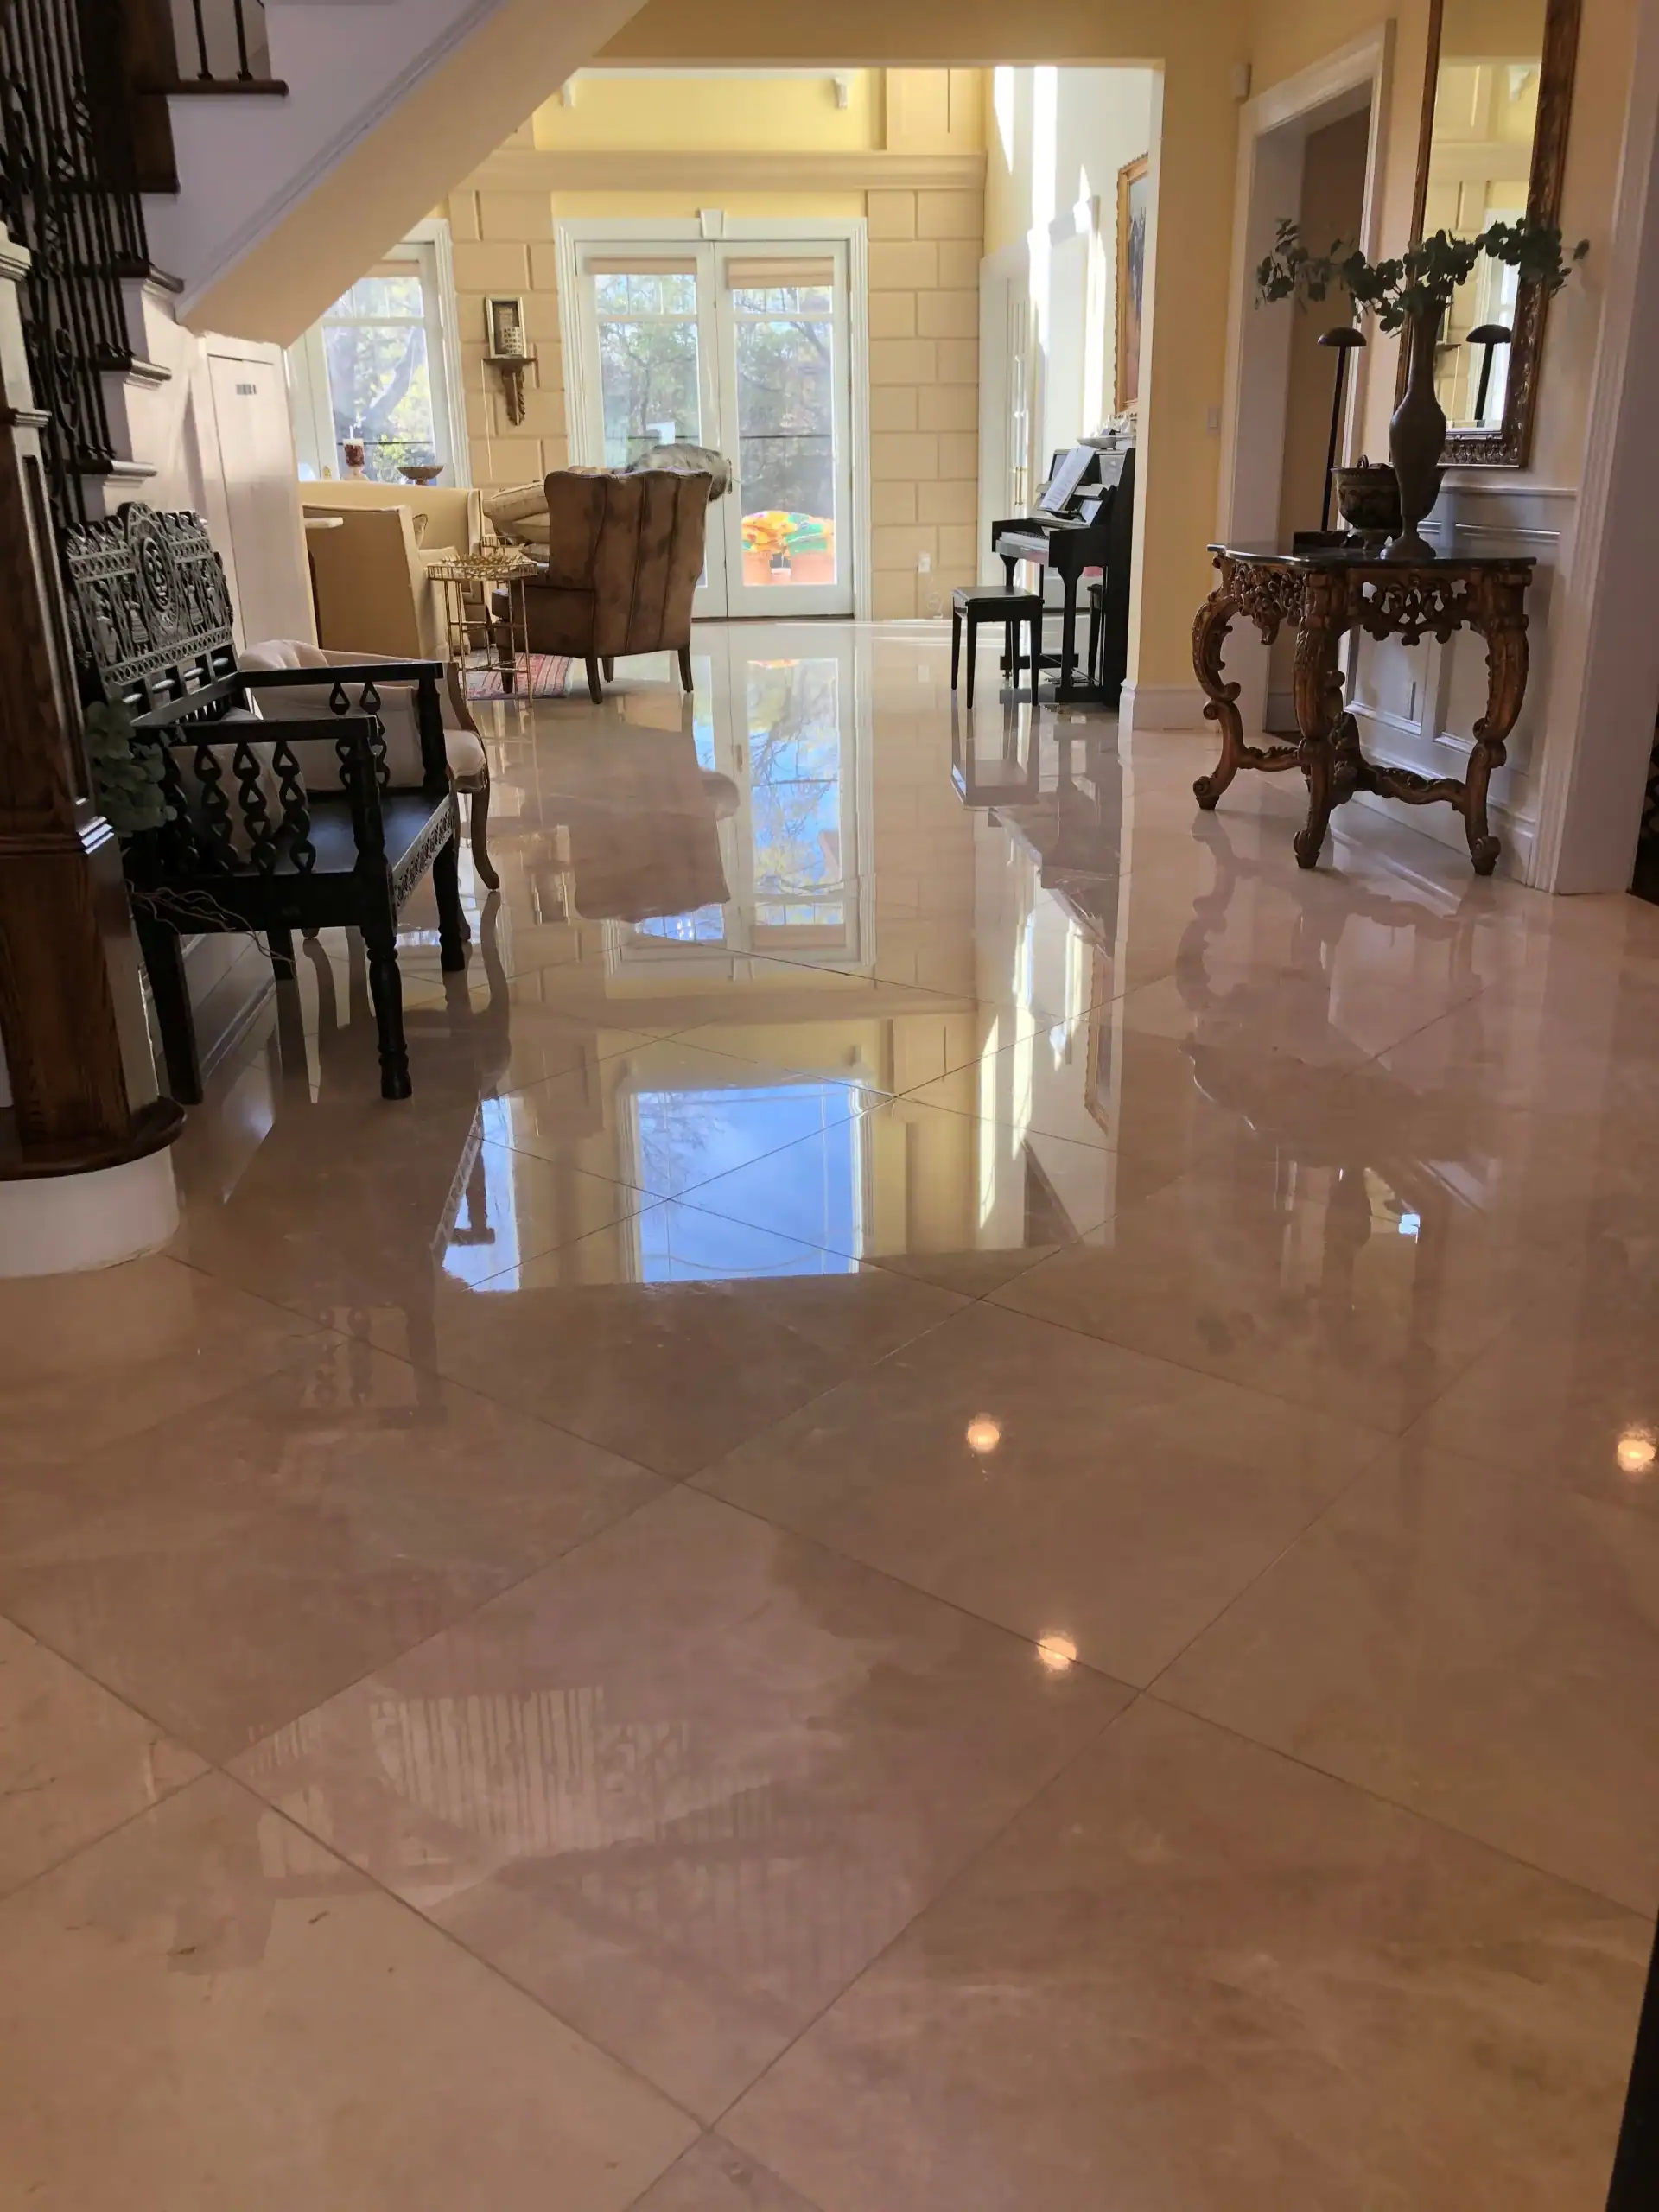
Two main approaches exist for polishing marble: diamond polishing and crystallization. Understanding the difference helps you know what you’re getting from your marble restoration process.
Diamond polishing uses progressively finer diamond abrasives to mechanically polish the surface. It’s a purely physical process that creates shine through extreme smoothness. The marble’s surface becomes so smooth that light reflects uniformly, creating that glossy appearance. This method works on virtually all marble types and produces consistent, long-lasting results.
Crystallization uses acidic compounds and steel wool pads to create a chemical reaction on the marble’s surface. The acid reacts with calcium carbonate, forming a new crystalline structure that’s harder and more reflective than the original marble. This process can produce exceptional shine and actually increases surface hardness, making the marble more resistant to scratching and wear.
We use a combination approach—diamond polishing to create the base finish, then crystallization to enhance and seal the shine. This hybrid method delivers the best of both techniques: the consistent results of diamond polishing with the enhanced durability of crystallization.
For Nassau County, NY homes dealing with hard water, crystallization offers an additional benefit. The crystallized surface is less porous than polished marble, which means water and mineral deposits have a harder time penetrating and staining the stone. This makes maintenance easier in areas where Long Island’s mineral-rich water is a constant challenge, particularly for marble walls restoration in bathrooms and shower areas.
The polishing compounds used matter significantly. Professional-grade products are formulated specifically for marble’s chemistry, while consumer products often contain fillers or waxes that create temporary shine but actually damage the stone long-term. If someone tells you they’ll apply an acrylic sealer to create shine, that’s a red flag—topical coatings can trap moisture, cause discoloration, and even lead to stone deterioration.
Temperature control during polishing is crucial. The friction from polishing generates heat, and if that heat gets too high, it can cause micro-fractures in the marble that appear as etching later. Professional equipment and technique manage this heat, keeping the stone at safe temperatures throughout the natural stone restoration process.
Not all marble needs or benefits from a high-gloss polish. Understanding finish levels helps you choose what works best for your space and lifestyle in your Nassau County, NY or Suffolk County, NY home.
A matte finish stops at lower honing grits—typically 400 to 800—creating a smooth but non-reflective surface. This finish hides wear patterns and minor scratches better than polished marble, making it practical for high-traffic areas. Matte finishes require more frequent sealing since the stone’s pores remain more open.
Satin or honed finishes use finer honing grits—800 to 1500—creating a soft sheen without full gloss. This is the sweet spot for many homeowners: elegant appearance with practical durability. Honed marble in bathrooms, for example, is less slippery when wet than polished marble, which matters for safety in marble walls restoration projects.
Semi-gloss finishes reach 2000 to 3000 grit honing, developing noticeable shine and beginning to close the pores significantly. Water beads on semi-gloss marble rather than immediately absorbing, offering better stain resistance than lower finishes.
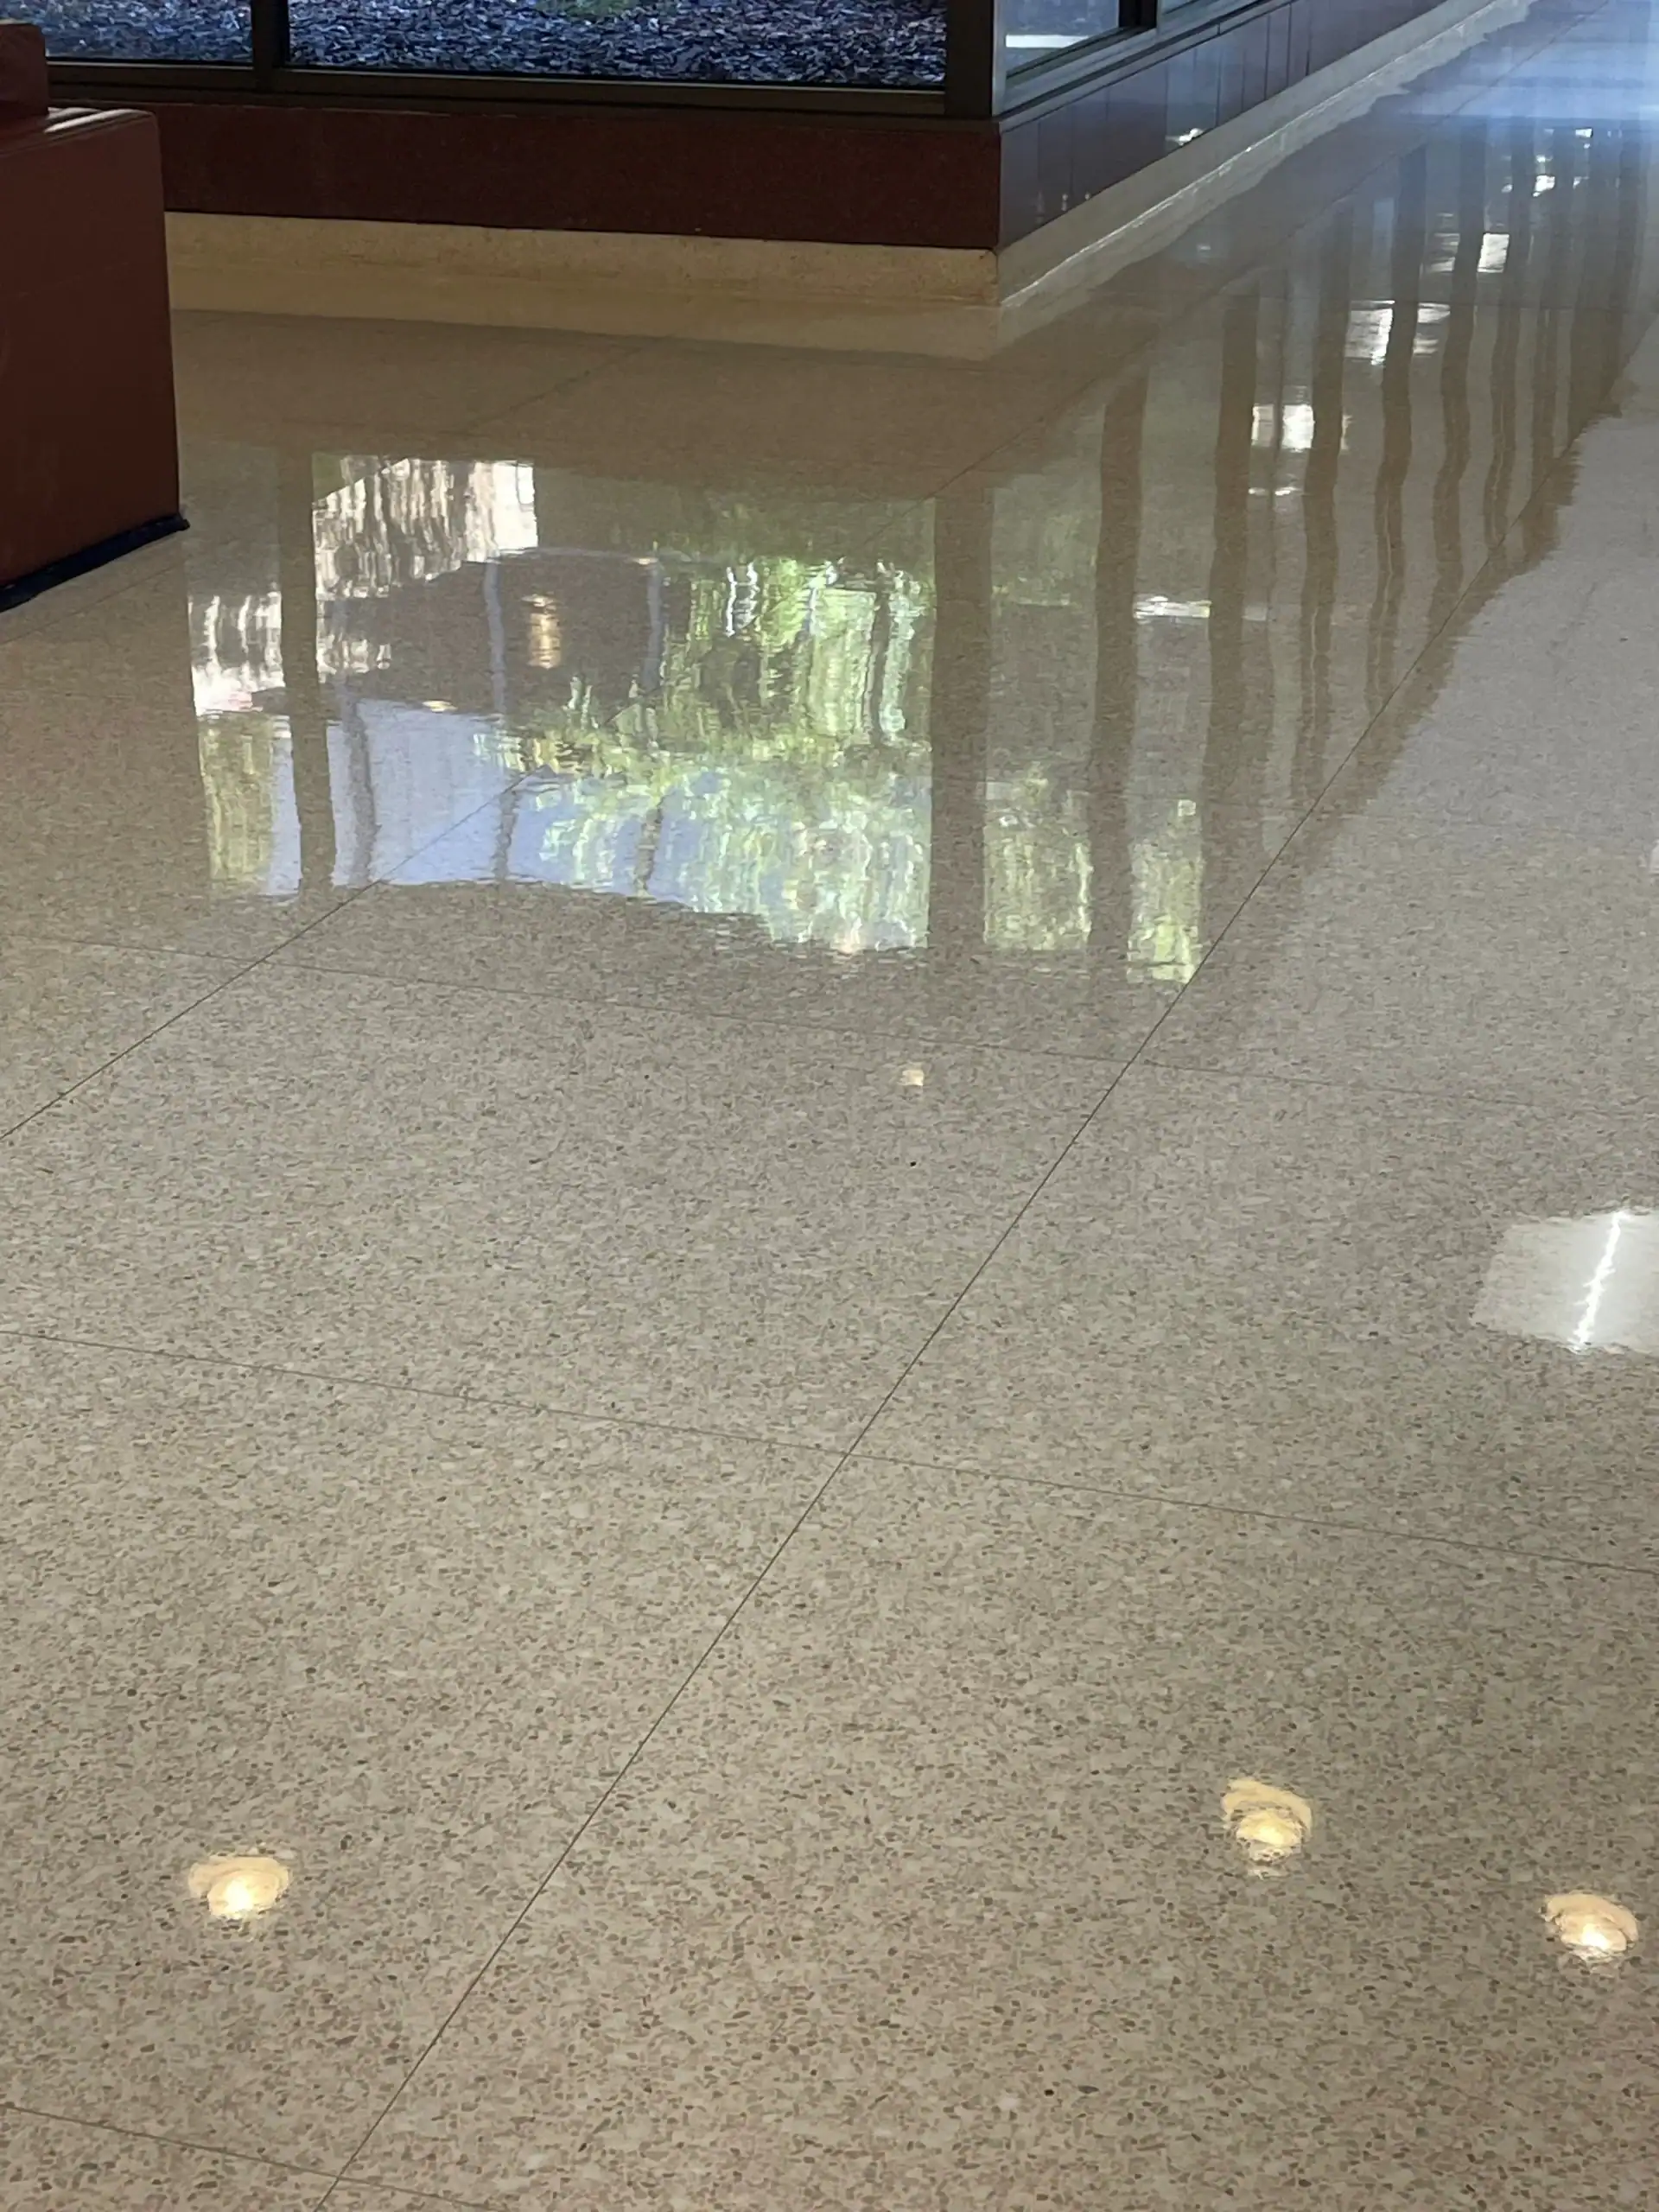
High-gloss or polished finishes combine the finest honing grits with polishing compounds, creating that mirror-like reflection. The pores are nearly closed, the surface is extremely smooth, and light reflects dramatically. This is the classic marble look that makes spaces feel luxurious and expensive.
For Long Island homes, finish choice often depends on location. Entryways and high-traffic floors perform better with honed finishes. Formal areas, feature walls, and surfaces that won’t see heavy wear showcase beautifully with high polish. Kitchen countertops present a judgment call—polished marble looks stunning but shows etching from acidic foods more readily than honed surfaces.
The marble restoration process can achieve any of these finishes by stopping at the appropriate grit level. This flexibility means you’re not locked into the original finish your marble had. Many homeowners choose to change finish levels during restoration to better suit how they actually use the space, whether that’s converting high-gloss floors to practical honed finishes or elevating marble walls restoration from matte to polished.
Sealing is the final step that protects your investment and makes maintenance dramatically easier. Without proper sealing, even perfectly restored marble will stain and damage quickly—especially in Suffolk County, NY and Nassau County, NY where hard water and coastal humidity create ongoing challenges.
Professional sealing uses penetrating sealers that soak into the marble’s pores rather than sitting on the surface. These impregnating sealers create a barrier inside the stone that repels liquids while still allowing the marble to breathe. This is critical—marble needs to release moisture vapor, and topical sealers that coat the surface can trap moisture and cause problems.
The application process matters as much as the sealer quality. The marble must be completely clean and dry before sealing. Any residual moisture, cleaning products, or polishing compounds will prevent proper sealer penetration, leaving weak spots in your protection. Professional natural stone restoration includes thorough cleaning and drying time before sealer application.
Multiple thin coats work better than one heavy coat. Each application is allowed to penetrate fully, then excess sealer is buffed off before it dries on the surface. This technique ensures maximum penetration without leaving a hazy residue that dulls the shine you just created through the marble honing and polishing process.
For Nassau County, NY and Suffolk County, NY homes, sealing frequency depends on use and water exposure. Bathroom marble walls restoration typically needs resealing every 12 to 18 months due to constant moisture. Kitchen countertops might go 18 to 24 months. Floors in low-traffic areas can last 2 to 3 years between sealing.
The water test tells you when resealing is needed: place a few drops of water on the marble and time how long they take to absorb. If water soaks in within a few minutes, you need sealing. If it beads up for 30 minutes or more, your sealer is still working.
Quality sealers cost more but last longer and perform better. The difference between a $15 hardware store sealer and a $40 professional-grade product is significant in terms of longevity and stain resistance. For the investment you’ve made in the marble restoration process, using the best available sealer makes financial sense.
Understanding the complete restoration process—from marble grinding service through honing, polishing, and sealing—helps you make informed decisions about your marble investment. When you’re ready to restore your marble and protect it properly, we bring 35 years of experience to every project in Nassau County, NY and Suffolk County, NY. From historic floors that need specialized care to marble walls restoration requiring expert technique, the complete process delivers results that bring your natural stone back to life.
Article details:
Share:
Continue learning: