Your marble floors tell a story—but dullness, etching, and scratches don't have to be the ending. This guide walks you through professional restoration for Long Island homes.
Share:
Summary:
Marble doesn’t just get dirty. It gets damaged at the molecular level in ways that regular cleaning can’t touch.
The stone itself is calcium carbonate, which means it reacts chemically with acids. That morning coffee spill, the lemon juice from last week’s dinner prep, even some “natural” cleaning products—they’re all dissolving microscopic layers of your marble’s surface. This creates etching, those dull spots that feel slightly rough to the touch.
Then there’s the wear from daily life. Every footstep tracks in tiny particles of grit that act like sandpaper. Over months and years, these microscopic scratches accumulate. Your marble becomes less reflective, more hazy. High-traffic areas show it first—hallways, kitchen pathways, entryways.
Long Island’s hard water makes things worse. Mineral deposits build up, especially in bathrooms. The coastal environment adds salt air and humidity that accelerate wear on natural stone. If your home was built in the early 1900s, your marble has been fighting this battle for a century.
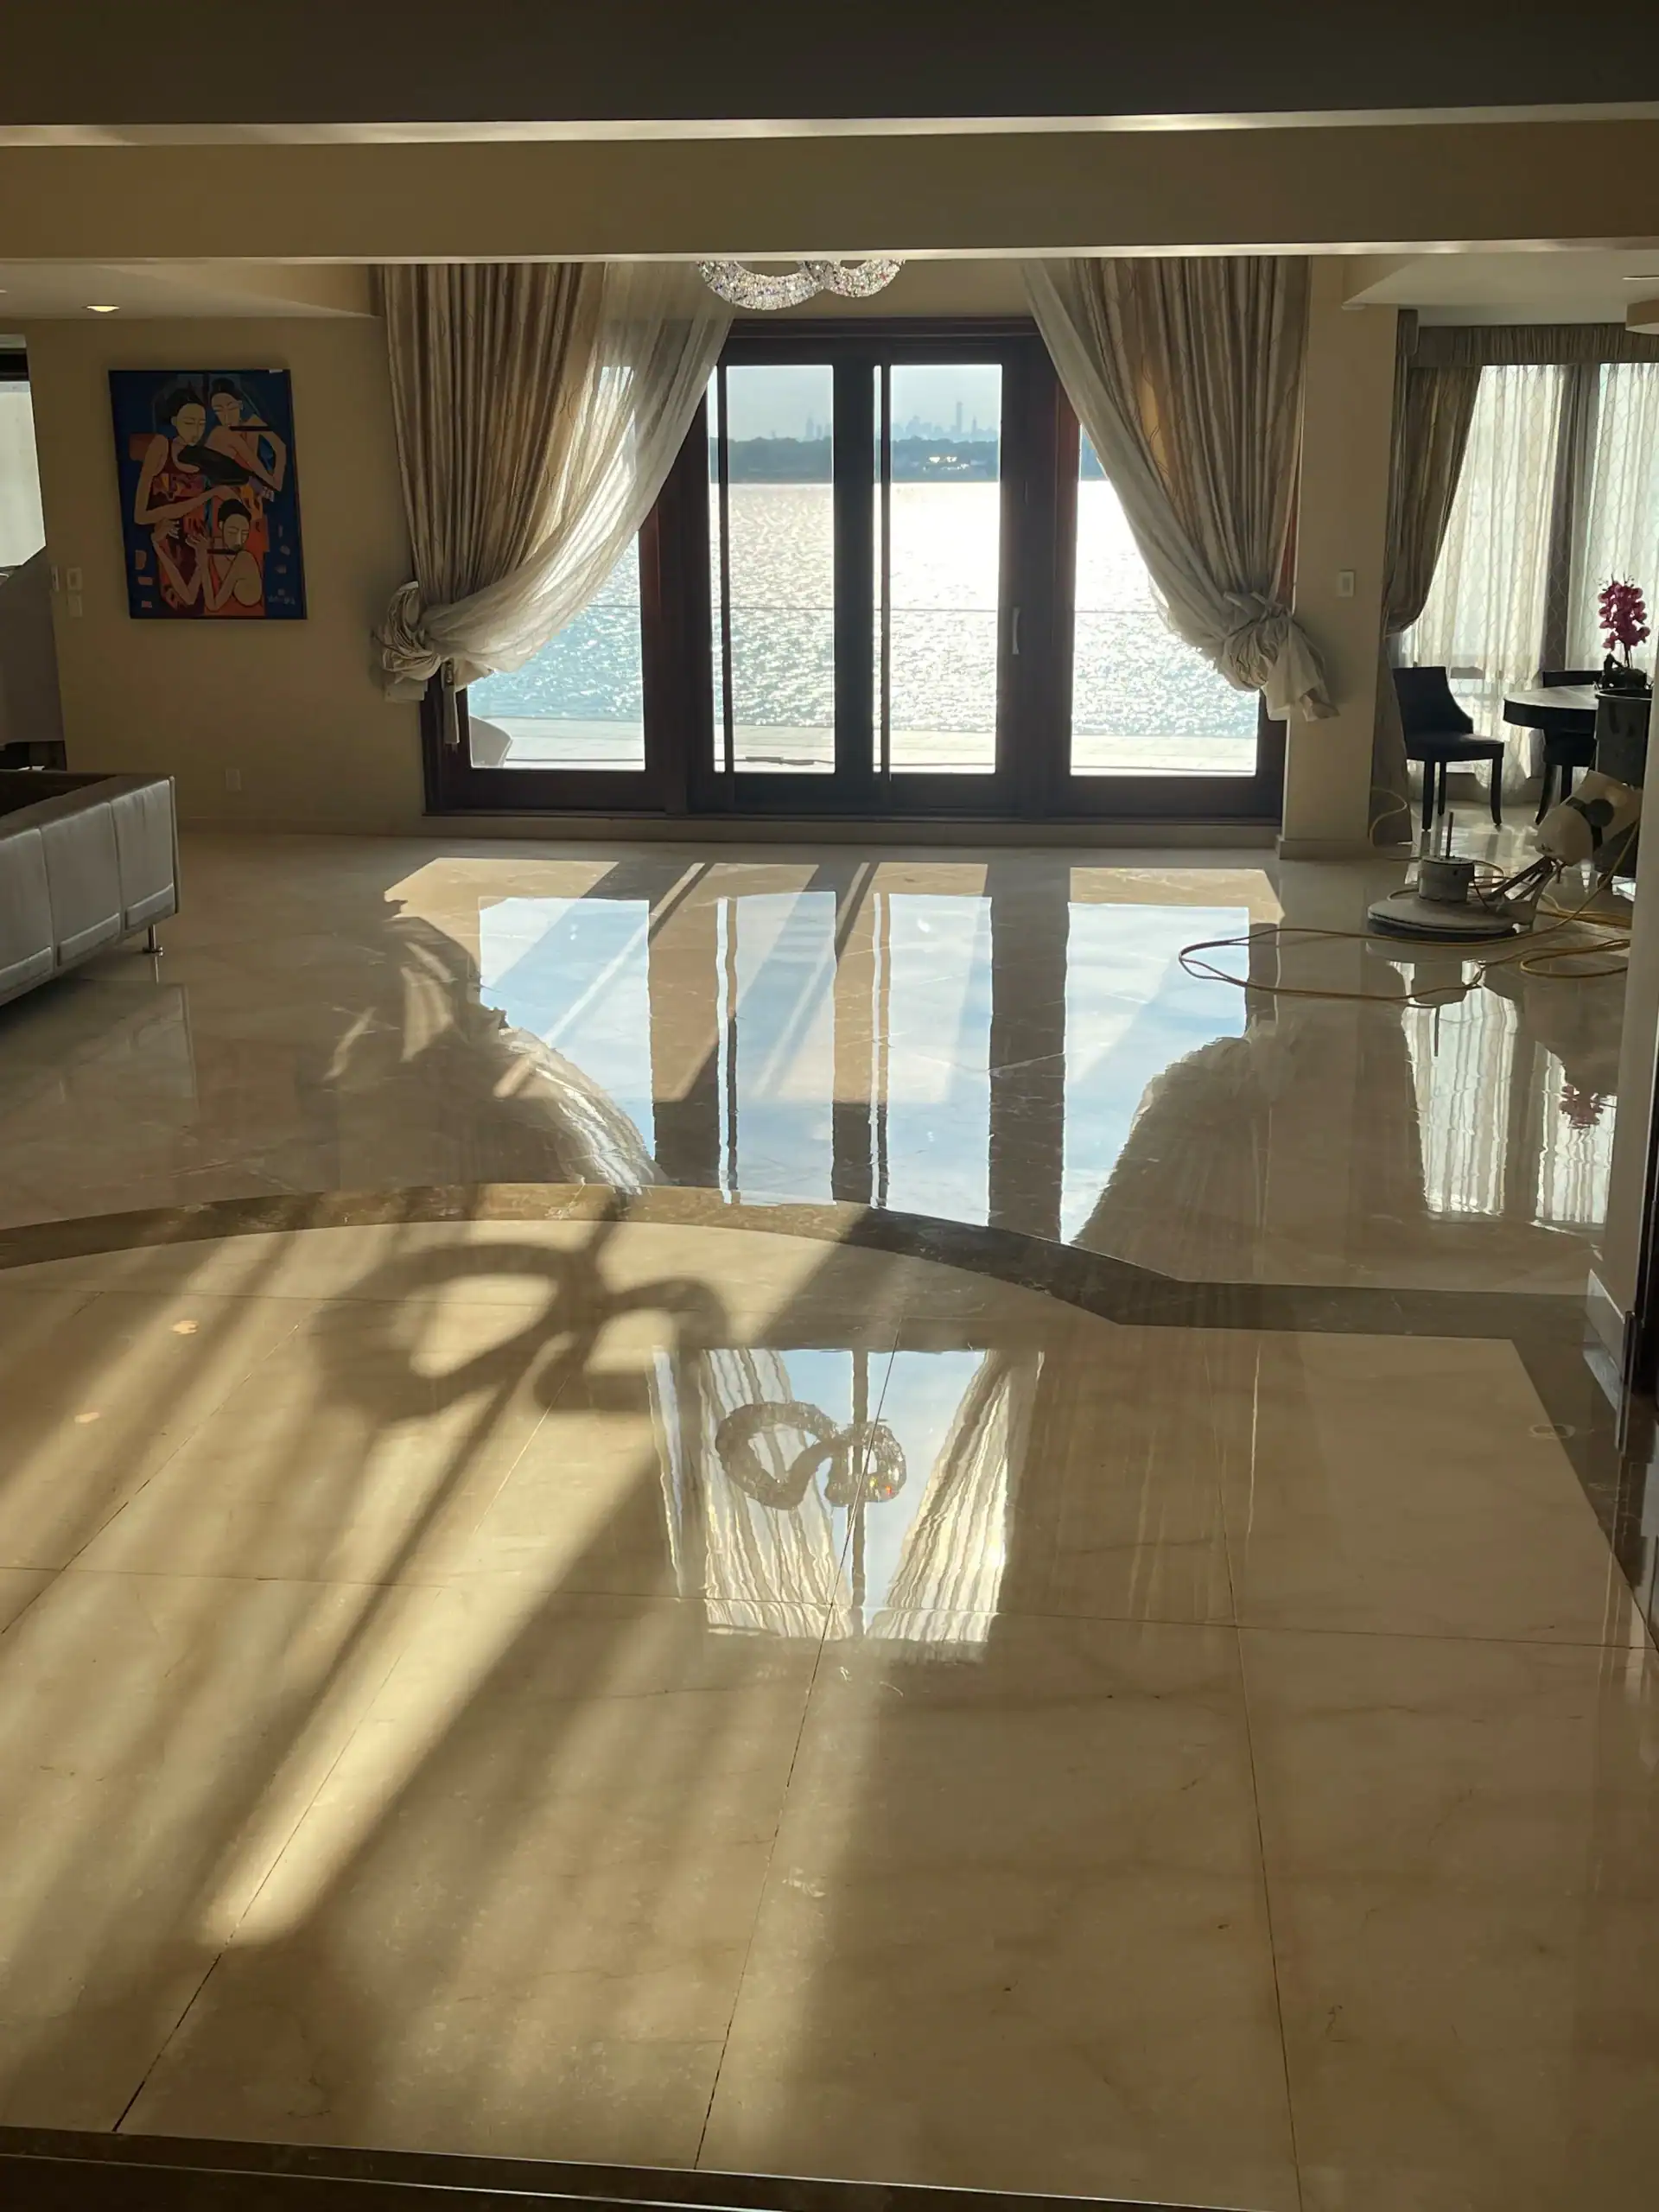
Etching is the number one reason homeowners search for marble restoration. It happens fast—sometimes in seconds—and it’s permanent without professional intervention.
When acidic liquids contact marble, they trigger a chemical reaction that literally dissolves the calcium carbonate in the stone’s surface. This destroys the smooth, polished layer that creates marble’s signature shine. The damage appears as dull spots, rings from glasses, or cloudy areas that look lighter than the surrounding stone.
Common culprits include wine, vinegar, citrus juices, coffee, and many household cleaners. Even products marketed as “all-purpose” or “natural” can contain acids that etch marble. Bathroom cleaners are particularly harsh—tile cleaners, tub and toilet cleaners, anything with vinegar or citrus.
What makes etching frustrating is that it looks like a stain, so people try to scrub it away. That makes it worse. The damage isn’t on top of the marble; it’s in the marble. No amount of cleaning will fix a chemical burn to the stone’s surface.
Nassau and Suffolk County homes face additional challenges. Hard water leaves mineral deposits that can etch over time. Previous owners might have used inappropriate cleaners for years, creating widespread etching that homeowners inherit. Historic properties often have marble that’s become more porous with age, making it more vulnerable to acid damage.
The good news is that etching is surface-level damage. Professional restoration removes the damaged layer and reveals fresh marble underneath. But here’s the critical part—you need someone who understands how to do this without creating more problems. Inexperienced contractors using harsh abrasives or acids can permanently ruin marble that could have been saved.
Even with perfect cleaning habits, marble floors develop wear patterns from foot traffic. It’s unavoidable physics—every step tracks in particles that scratch the surface.
These aren’t the deep scratches from dragging furniture. They’re microscopic abrasions that accumulate over time. Individually, they’re invisible. Together, they create that overall dull appearance that makes marble look tired. You’ll notice it first in high-traffic lanes—the path from the front door to the kitchen, hallways, areas in front of sinks.
The scratches scatter light instead of reflecting it cleanly. That’s why your floors look hazy even when they’re clean. The problem gets worse in homes with kids, pets, or frequent entertaining. More foot traffic means faster accumulation of those tiny scratches.
Then there’s the cleaning product problem. Most homeowners don’t realize their cleaning routine is causing damage until it’s extensive.
Soap-based cleaners leave residue that attracts dirt and creates buildup. Products like Mop & Glo promise shine but actually create a film that wears unevenly and makes floors look worse over time. Acidic cleaners—anything with vinegar, lemon, or harsh chemicals—actively etch the marble every time you use them.
Here’s the cycle many Long Island homeowners fall into: Floors look dull, so they clean more aggressively. They try stronger products or scrub harder. This creates more damage, which makes floors look worse, which prompts more aggressive cleaning. Before long, marble that could have been easily restored needs extensive work.
The worst part? Many “cleaning companies” offering marble services don’t understand the stone. They use harsh abrasives and acids that destroy marble while claiming to restore it. This is especially common with historic floors, where inexperienced contractors can ruin 100-year-old marble that can never be replaced.
Professional restoration addresses both problems—removing the accumulated scratches and etching while educating homeowners on proper maintenance. The goal isn’t just to fix current damage. It’s to prevent the cycle from repeating.
Want live answers?
Connect with a High Definition Marble Restoration Inc expert for fast, friendly support.
Professional marble restoration is a four-step process that removes damage and reveals fresh stone underneath. Each step serves a specific purpose, and skipping any of them compromises the results.
The process starts with assessment. Not all marble damage is the same, and not all marble responds to restoration the same way. Historic marble requires different techniques than modern installations. Carrara marble behaves differently than Thassos. An experienced restorer evaluates what the floor needs before starting work.
From there, the actual restoration follows a progression from aggressive to refined—grinding to remove deep damage, honing to smooth and refine, polishing to create shine, and sealing to protect the results. Done correctly, this process can make 100-year-old floors look better than when they were first installed.
The key difference between professional restoration and DIY attempts? We understand how much material to remove, which grits to use in what sequence, and how to achieve uniform results. We also know when marble can’t be saved and needs replacement—though that’s rare with proper expertise.
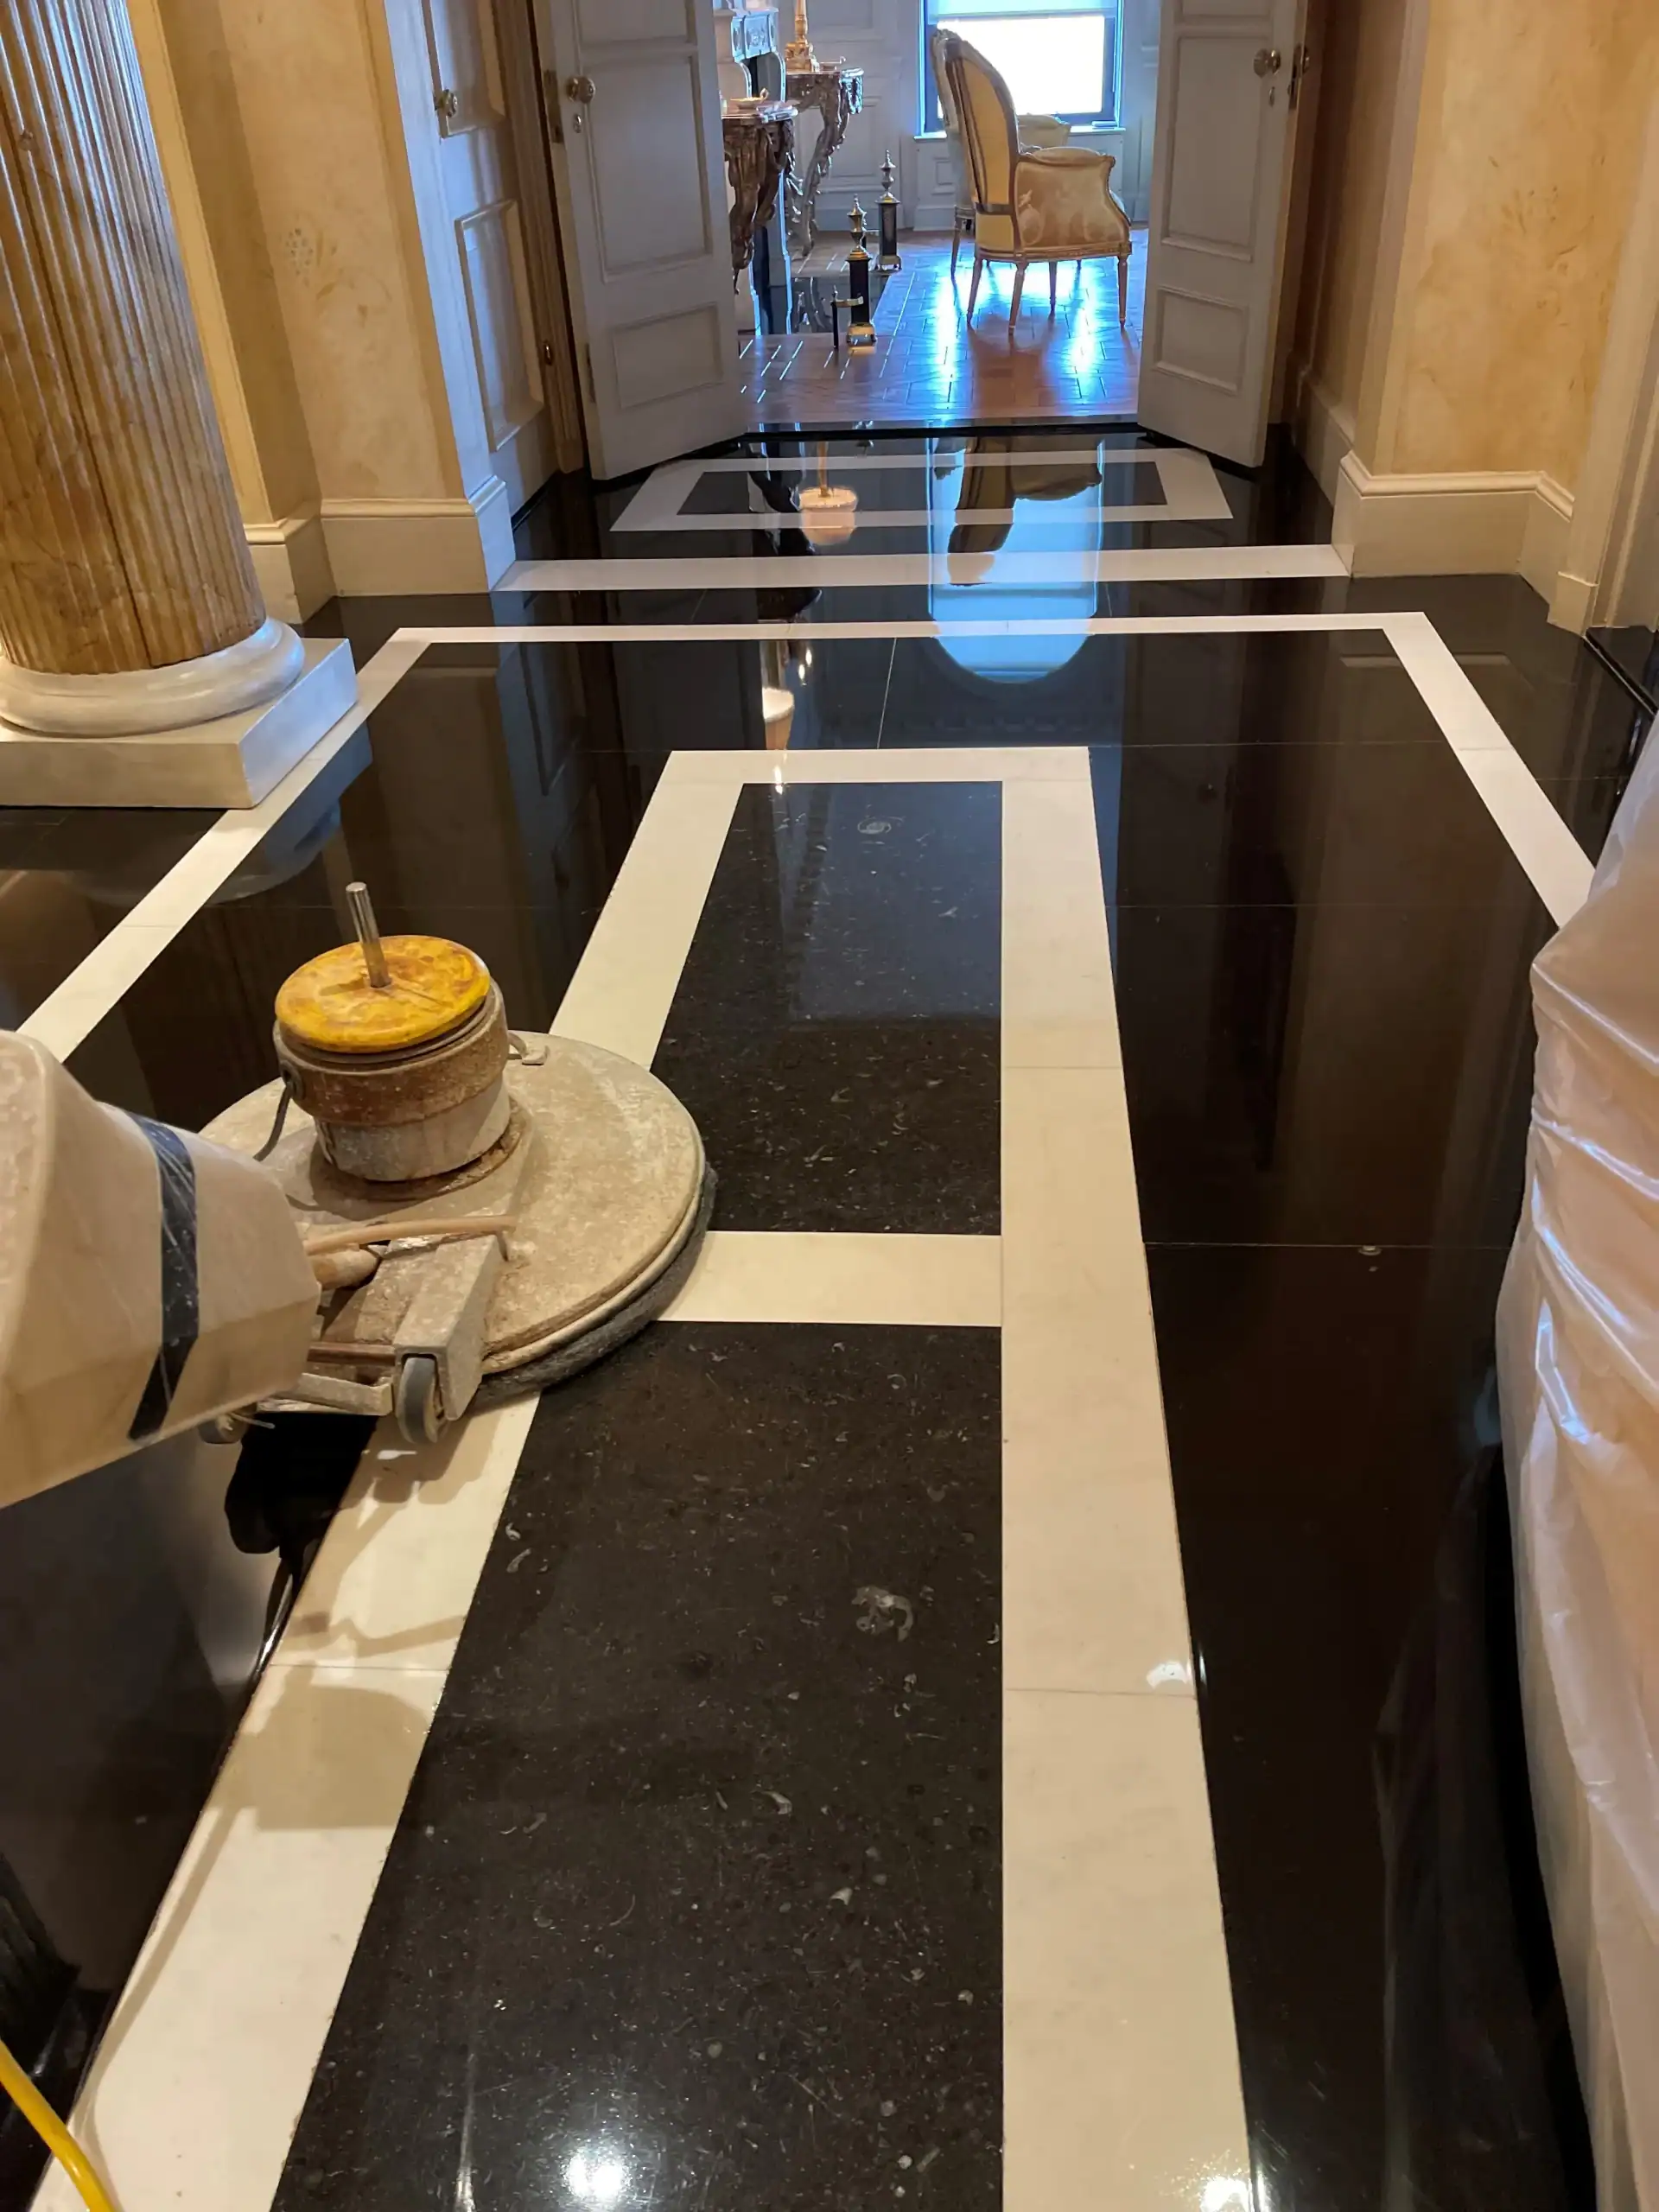
Grinding is the most aggressive step. It’s also called lippage removal or flattening, and it’s necessary when floors have deep scratches, uneven tiles, or extensive damage.
This step uses metal-bonded diamond grits to remove a thin layer from the marble’s surface. Even newly installed floors sometimes need grinding because individual tiles sit at slightly different heights. The process flattens everything to create a uniform surface while removing the deepest scratches and stains.
Grinding is where inexperienced contractors cause the most damage. Too aggressive, and you remove too much marble or create heat damage. Not aggressive enough, and you don’t remove the damaged layer. It requires understanding the specific marble type, its thickness, and how it was originally installed—especially critical with historic Long Island floors.
Honing follows grinding. This step uses progressively finer diamond abrasives to smooth the surface and bring up initial shine. Think of it as refining what grinding started.
Honing removes the scratches that grinding created while eliminating minor etching and surface imperfections. It creates a more uniform appearance and prepares the marble for polishing. Some homeowners actually prefer a honed finish—it’s less reflective than polished marble but has a sophisticated, matte elegance.
For floors that only have minor dullness or light scratches, honing might be all that’s needed. It’s less aggressive than grinding but more thorough than polishing alone.
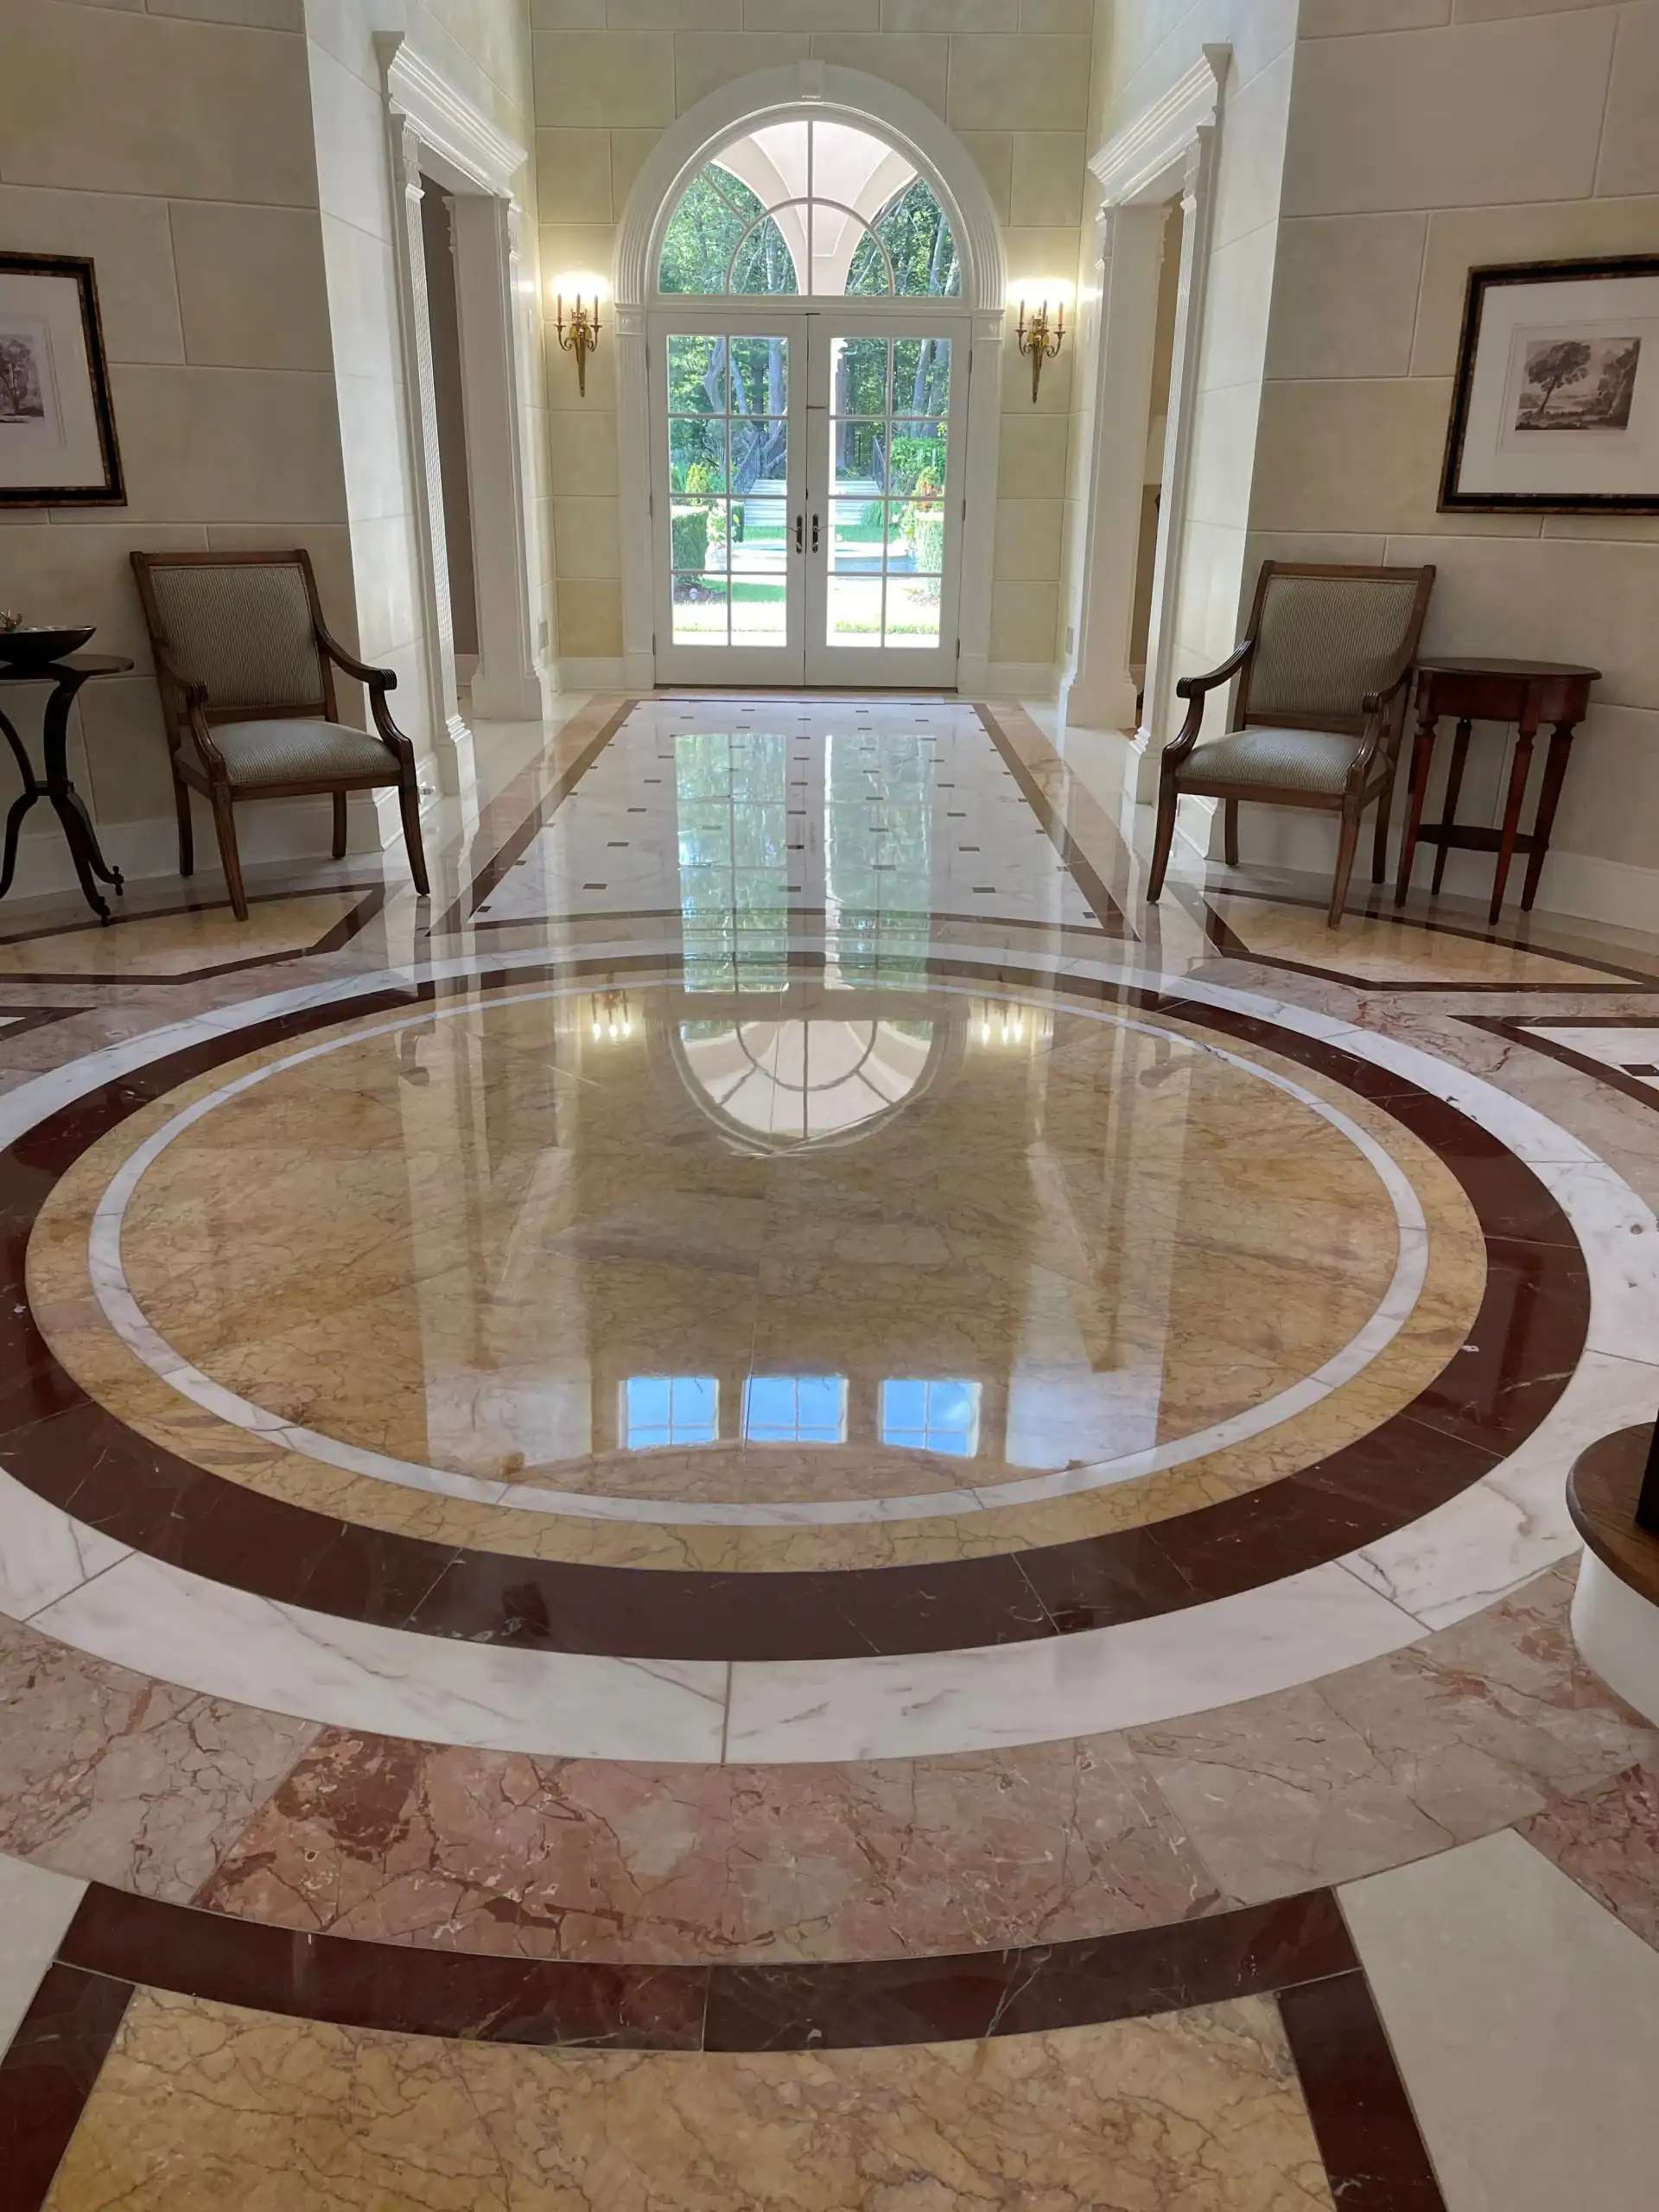
Polishing is where the magic happens. This step uses even finer diamond grits—smaller and less abrasive than honing pads—to create that mirror-like shine marble is known for.
The polishing process can achieve different levels of gloss depending on what you want. Some homeowners prefer a subtle sheen, others want maximum reflectivity. We adjust our technique and products to match your preference while working with what the marble can naturally achieve.
Here’s what most people don’t realize: polishing isn’t adding shine to the surface. It’s refining the surface so smoothly that it reflects light cleanly instead of scattering it. That’s why polishing only works after grinding and honing create the right foundation.
The final step—sealing—protects everything you’ve just accomplished. Marble is porous, which means liquids can absorb into it and cause stains. A quality penetrating sealer soaks into the marble’s pores and creates a protective barrier without changing the appearance or making floors slippery.
Sealing doesn’t make marble indestructible. Acids can still etch sealed marble. But it gives you time—seconds or minutes to wipe up spills before they penetrate and stain. It also makes routine cleaning easier because dirt and grime sit on the surface instead of absorbing into the stone.
Most marble damage is fixable. Even floors that look ruined can often be restored to better-than-new condition. But there are situations where replacement makes more sense.
Restoration works when damage is surface-level. Etching, scratches, dullness, wear patterns, minor staining—all of this can be ground away and polished out. Even what looks like extensive damage is often only affecting the top few millimeters of marble. Since industry-standard marble is 3/4 inch to 1 1/4 inches thick, there’s plenty of material to work with.
The math strongly favors restoration. Professional marble restoration in Nassau and Suffolk County typically costs $5 to $15 per square foot. Complex historic projects might run higher, but you’re still looking at a fraction of replacement cost. New marble installation runs $70 to $190 per square foot on Long Island. That means restoration saves 80% or more compared to replacement.
There’s also the timeline. Most residential restoration projects complete in one to three days. Replacement takes weeks and creates massive disruption—demo, disposal, substrate prep, installation, grouting, cleanup. You can’t use those spaces during the process.
For historic homes, restoration preserves irreplaceable character. The marble in many Nassau County properties was installed in the early 1900s using techniques and materials that don’t exist today. The veining patterns, color variations, and craftsmanship represent value that goes beyond simple cost considerations. Once those floors are gone, they’re gone forever.
Property value considerations matter too. Well-maintained original floors, especially in historic homes, can increase property value by three to five percent. Some sources suggest up to 25% in historic neighborhoods where buyers specifically seek authentic features. Potential buyers pay premium prices for homes with restored original materials.
But replacement becomes necessary in specific situations. Water damage that’s compromised the substrate, foundation settling that’s cracked marble throughout, or improper installation that’s caused structural problems—these issues go deeper than the marble surface. Restoration can’t fix problems with what’s underneath the stone.
Severe damage affecting more than a quarter of the surface might also warrant replacement, though this is rare. Very thin marble that’s been over-restored in the past might not have enough material left for another restoration. And if the marble has widespread deep cracks—not surface scratches, but structural fractures—replacement might be the only option.
The key is getting a professional assessment from someone who understands both restoration and replacement. Be wary of contractors who immediately recommend replacement without evaluating restoration options. Also be wary of those who promise to restore anything regardless of condition—some damage genuinely requires replacement.
For most Long Island homeowners, restoration is the right answer. It preserves history, saves money, and delivers results that can last decades with proper care.
Your marble floors have been through a lot—years of foot traffic, acidic spills, well-intentioned but damaging cleaning products, Long Island’s hard water and coastal environment. The dullness and etching you’re seeing isn’t a reflection of poor maintenance. It’s the reality of what happens to natural stone over time.
The good news is that what looks like permanent damage is usually reversible. Professional restoration removes the damaged surface layer and reveals fresh marble underneath. The process—grinding, honing, polishing, and sealing—addresses damage at its source rather than covering it up with temporary fixes.
For Nassau and Suffolk County homeowners, especially those with historic properties, restoration preserves irreplaceable character while saving thousands compared to replacement. It’s faster, less disruptive, and delivers results that can last for decades.
If your floors have lost their shine, show etching or dull spots, or just don’t look the way they used to, it’s worth getting a professional evaluation. Not all marble restoration companies understand historic materials or use proper techniques—experience with century-old floors and owner-operated accountability make a real difference in results. We specialize in bringing damaged stone back to life, with particular expertise in the challenging historic floor restoration that many contractors won’t touch.
Article details:
Share:
Continue learning: