Your marble floor lost its shine because of acid etching, wrong cleaners, and daily wear—but professional restoration can reverse the damage and bring back that stunning finish.
Share:
Summary:
Marble doesn’t just get dirty and dull. The loss of shine happens through specific chemical and physical processes that damage the surface at a microscopic level. Understanding what’s actually happening helps you see why regular cleaning can’t fix the problem.
The stone itself is calcium carbonate—the same compound found in chalk and limestone. When anything acidic touches that surface, a chemical reaction occurs immediately. The acid dissolves tiny particles of the marble, destroying the smooth, polished layer that creates shine.
This isn’t theoretical damage that might happen someday. It’s happening right now in kitchens and entryways across Nassau and Suffolk Counties, often without homeowners realizing the cause.

Etching is the primary reason marble floors lose their shine, and it happens faster than most people realize. When acidic substances contact marble, they don’t just sit on the surface—they react with the calcium carbonate in the stone. This chemical reaction dissolves the surface layer, destroying the smooth finish that reflects light and creates that signature marble shine.
Common household items cause this damage constantly. A glass of wine spilled during dinner. A drop of lemon juice from cooking. Coffee that splashes onto the floor. Vinegar-based cleaning products marketed as “natural” or “all-purpose.” Each contact creates permanent damage that no amount of scrubbing will fix.
The damage appears as dull spots, rings, or cloudy areas that feel slightly rough when you run your fingers across them. Unlike stains that darken the marble, etch marks typically appear lighter or hazier than the surrounding stone. The distinction matters because etching and staining require completely different solutions.
What makes etching particularly frustrating is the speed. Acid can begin etching marble within 30 seconds of contact. A splash of lemon juice creates visible marks in under two minutes. Even mildly acidic substances cause damage faster than you’d expect, which is why that “quick spill” you didn’t wipe up immediately left a permanent mark.
The list of acidic culprits is longer than most homeowners realize. Beyond the obvious ones like lemon juice and vinegar, many everyday products damage marble. Soda and soft drinks contain carbonic and phosphoric acids. Wine carries tartaric and organic acids. Tomato sauce, orange juice, and even some cosmetics contain acids that etch on contact.
Cleaning products create some of the worst damage because homeowners use them repeatedly, thinking they’re maintaining their floors. Bathroom cleaners, tile cleaners, and products containing vinegar or citrus all etch marble. Even products labeled “natural” often contain acid-based ingredients that destroy the finish over time. This repeated exposure compounds the damage, turning once-gleaming floors progressively duller with each cleaning.
Nassau and Suffolk County homes face additional challenges from the coastal environment. Salt air acts like a mild acid over time, and the humidity affects how quickly spills penetrate the surface. These local conditions mean marble floors in Long Island homes often show damage faster than similar floors in other regions.
Beyond etching, physical wear gradually destroys marble’s polished surface. Every footstep tracks in microscopic particles of dirt, sand, and debris that act like sandpaper against the stone. Over months and years, this constant abrasion wears down the smooth surface that reflects light, leaving floors looking progressively duller.
High-traffic areas show this wear first. Entryways, kitchen walkways, and paths between rooms develop visible wear patterns where the marble appears hazier than surrounding areas. The damage isn’t uniform across the entire floor—it concentrates where people walk most frequently, creating obvious dull paths through otherwise shiny marble.
The problem intensifies in winter when salt gets tracked indoors. Road salt doesn’t just create white residue—it actually damages marble through both chemical and physical processes. The salt itself can etch the surface while the gritty particles scratch it. This double impact explains why marble floors near entryways often need restoration more frequently than floors in other areas of the home.
Wrong cleaning products accelerate the damage dramatically. Most standard household cleaners that work fine on other surfaces destroy marble. Products containing acids, high alkaline levels, or bleach all damage the stone. Even spray-and-mop products designed for vinyl floors leave films that dull marble’s appearance while making future cleaning more difficult.
The damage from wrong cleaners happens gradually, which makes it harder to identify the cause. Your floor doesn’t suddenly turn dull after one cleaning—it loses shine slowly over weeks and months. By the time the damage becomes obvious, you’ve likely been using the damaging product for quite a while, creating widespread etching across the entire surface.
Hard water creates its own set of problems, particularly common in Nassau and Suffolk Counties. The mineral content in local water leaves deposits that build up over time. These white, crusty buildups aren’t just cosmetic—they become increasingly difficult to remove without professional intervention. Water spots from glasses, shower spray, or mopping accumulate into visible damage that regular cleaning can’t address.
Temperature changes and humidity also affect marble, especially in historic Long Island homes. Heating systems create dry air that can cause marble to contract slightly, potentially opening existing micro-fractures. Summer humidity slows the evaporation of cleaning products, leaving residues that attract dirt. These seasonal challenges mean marble maintenance requires different approaches throughout the year.
The cumulative effect of all these factors—etching, physical wear, wrong products, and environmental conditions—is marble that looks nothing like it did when first installed. The good news is that professional restoration addresses all these issues simultaneously, removing damaged layers and rebuilding the finish to restore that original beauty.
Want live answers?
Connect with a High Definition Marble Restoration Inc expert for fast, friendly support.
Professional restoration doesn’t mask marble damage—it removes it entirely. The process involves systematically grinding away damaged surface layers, then rebuilding the finish through progressively finer honing and polishing steps. This approach addresses the root cause of dullness rather than just making the surface temporarily look better.
The restoration succeeds because it removes years of accumulated etching, scratching, and wear. When grinding away the damaged surface layer, the process exposes fresh marble underneath. The systematic progression through different grit levels ensures a uniform finish that matches across the entire floor.
This is fundamentally different from DIY approaches or basic cleaning services, which work only on the surface without addressing the underlying damage.
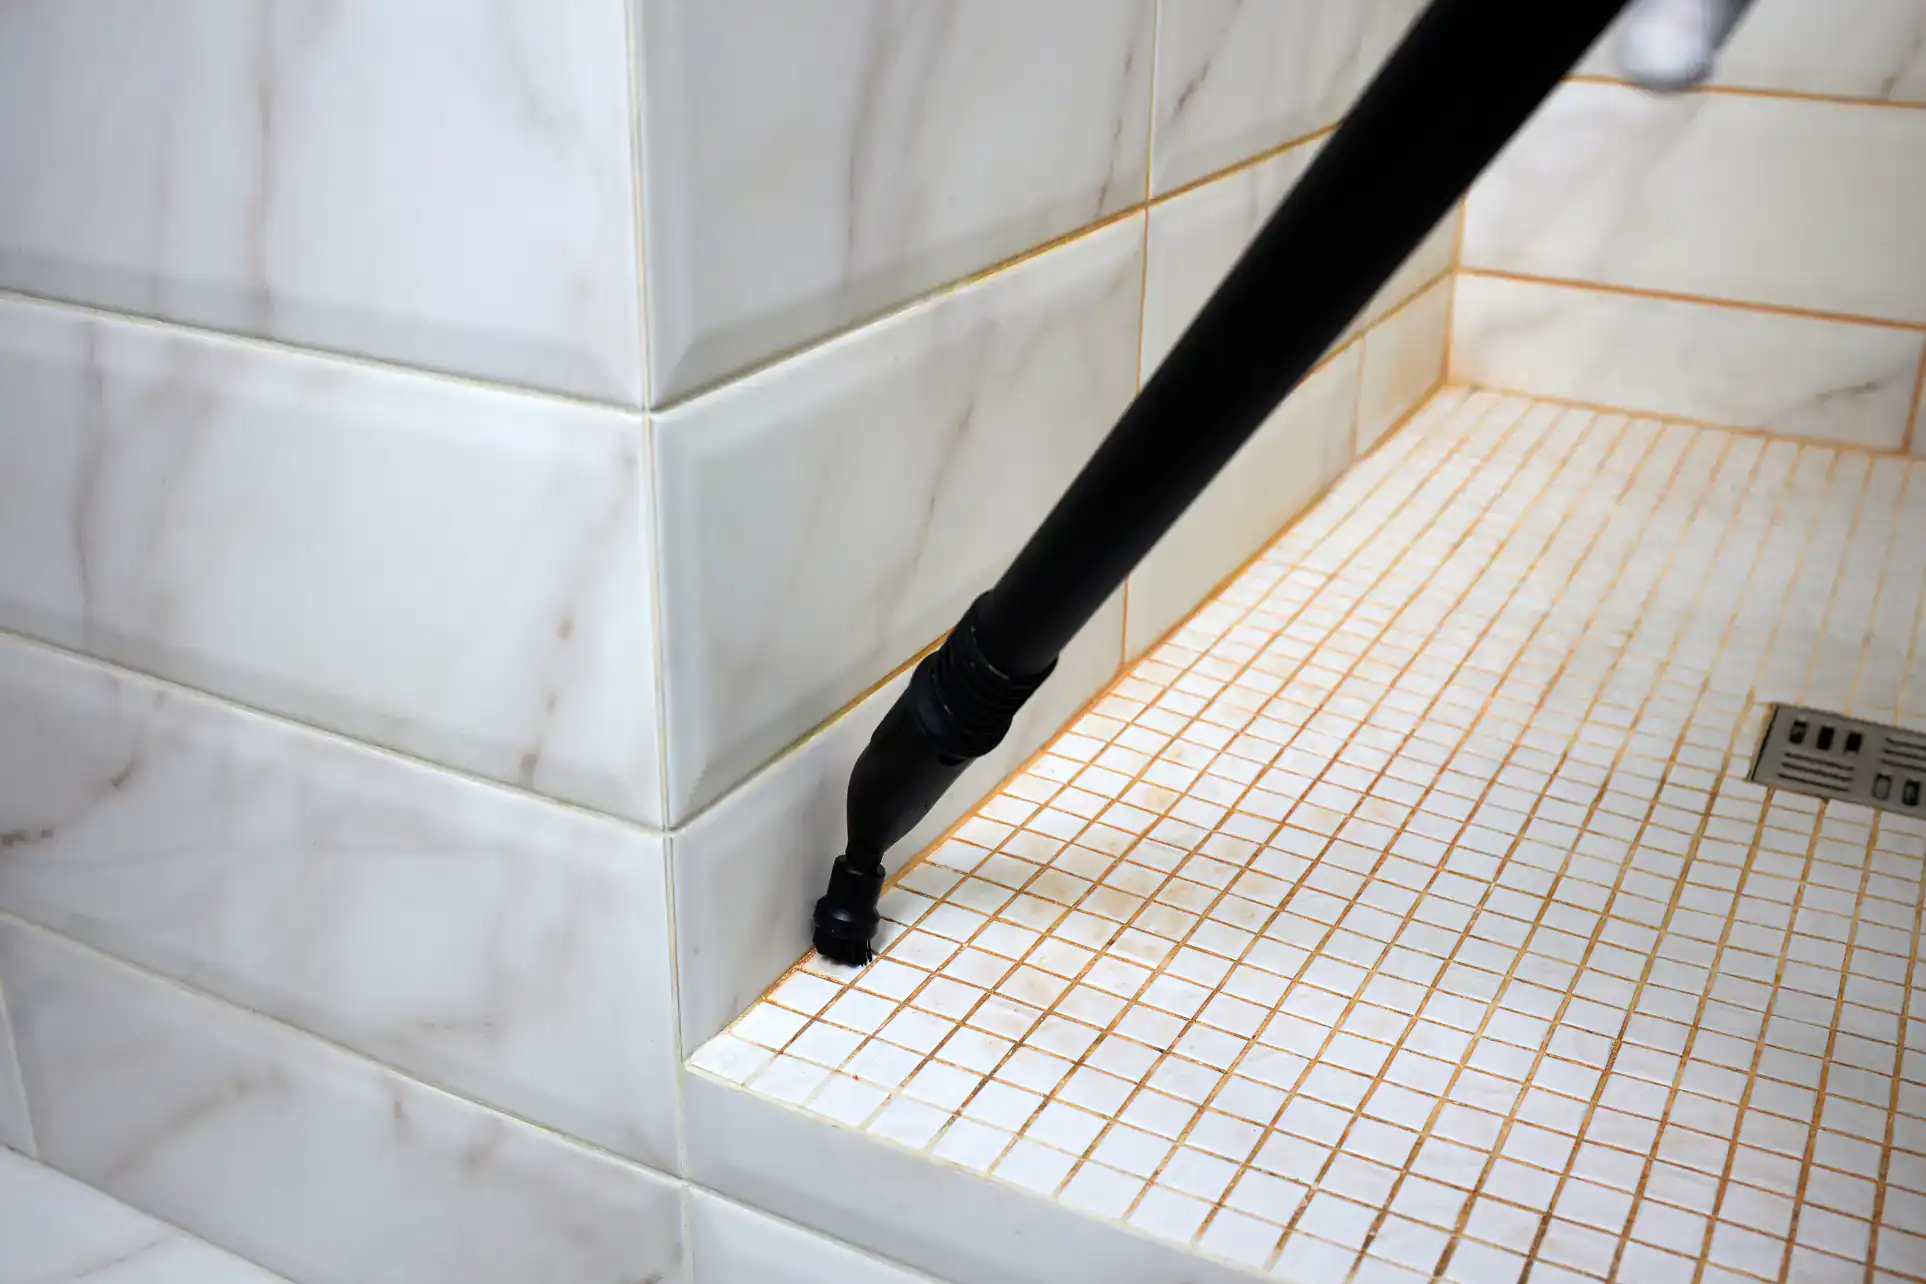
Professional marble restoration follows a specific sequence that can’t be rushed or skipped. Each step prepares the surface for the next, building toward a finish that lasts for years rather than weeks.
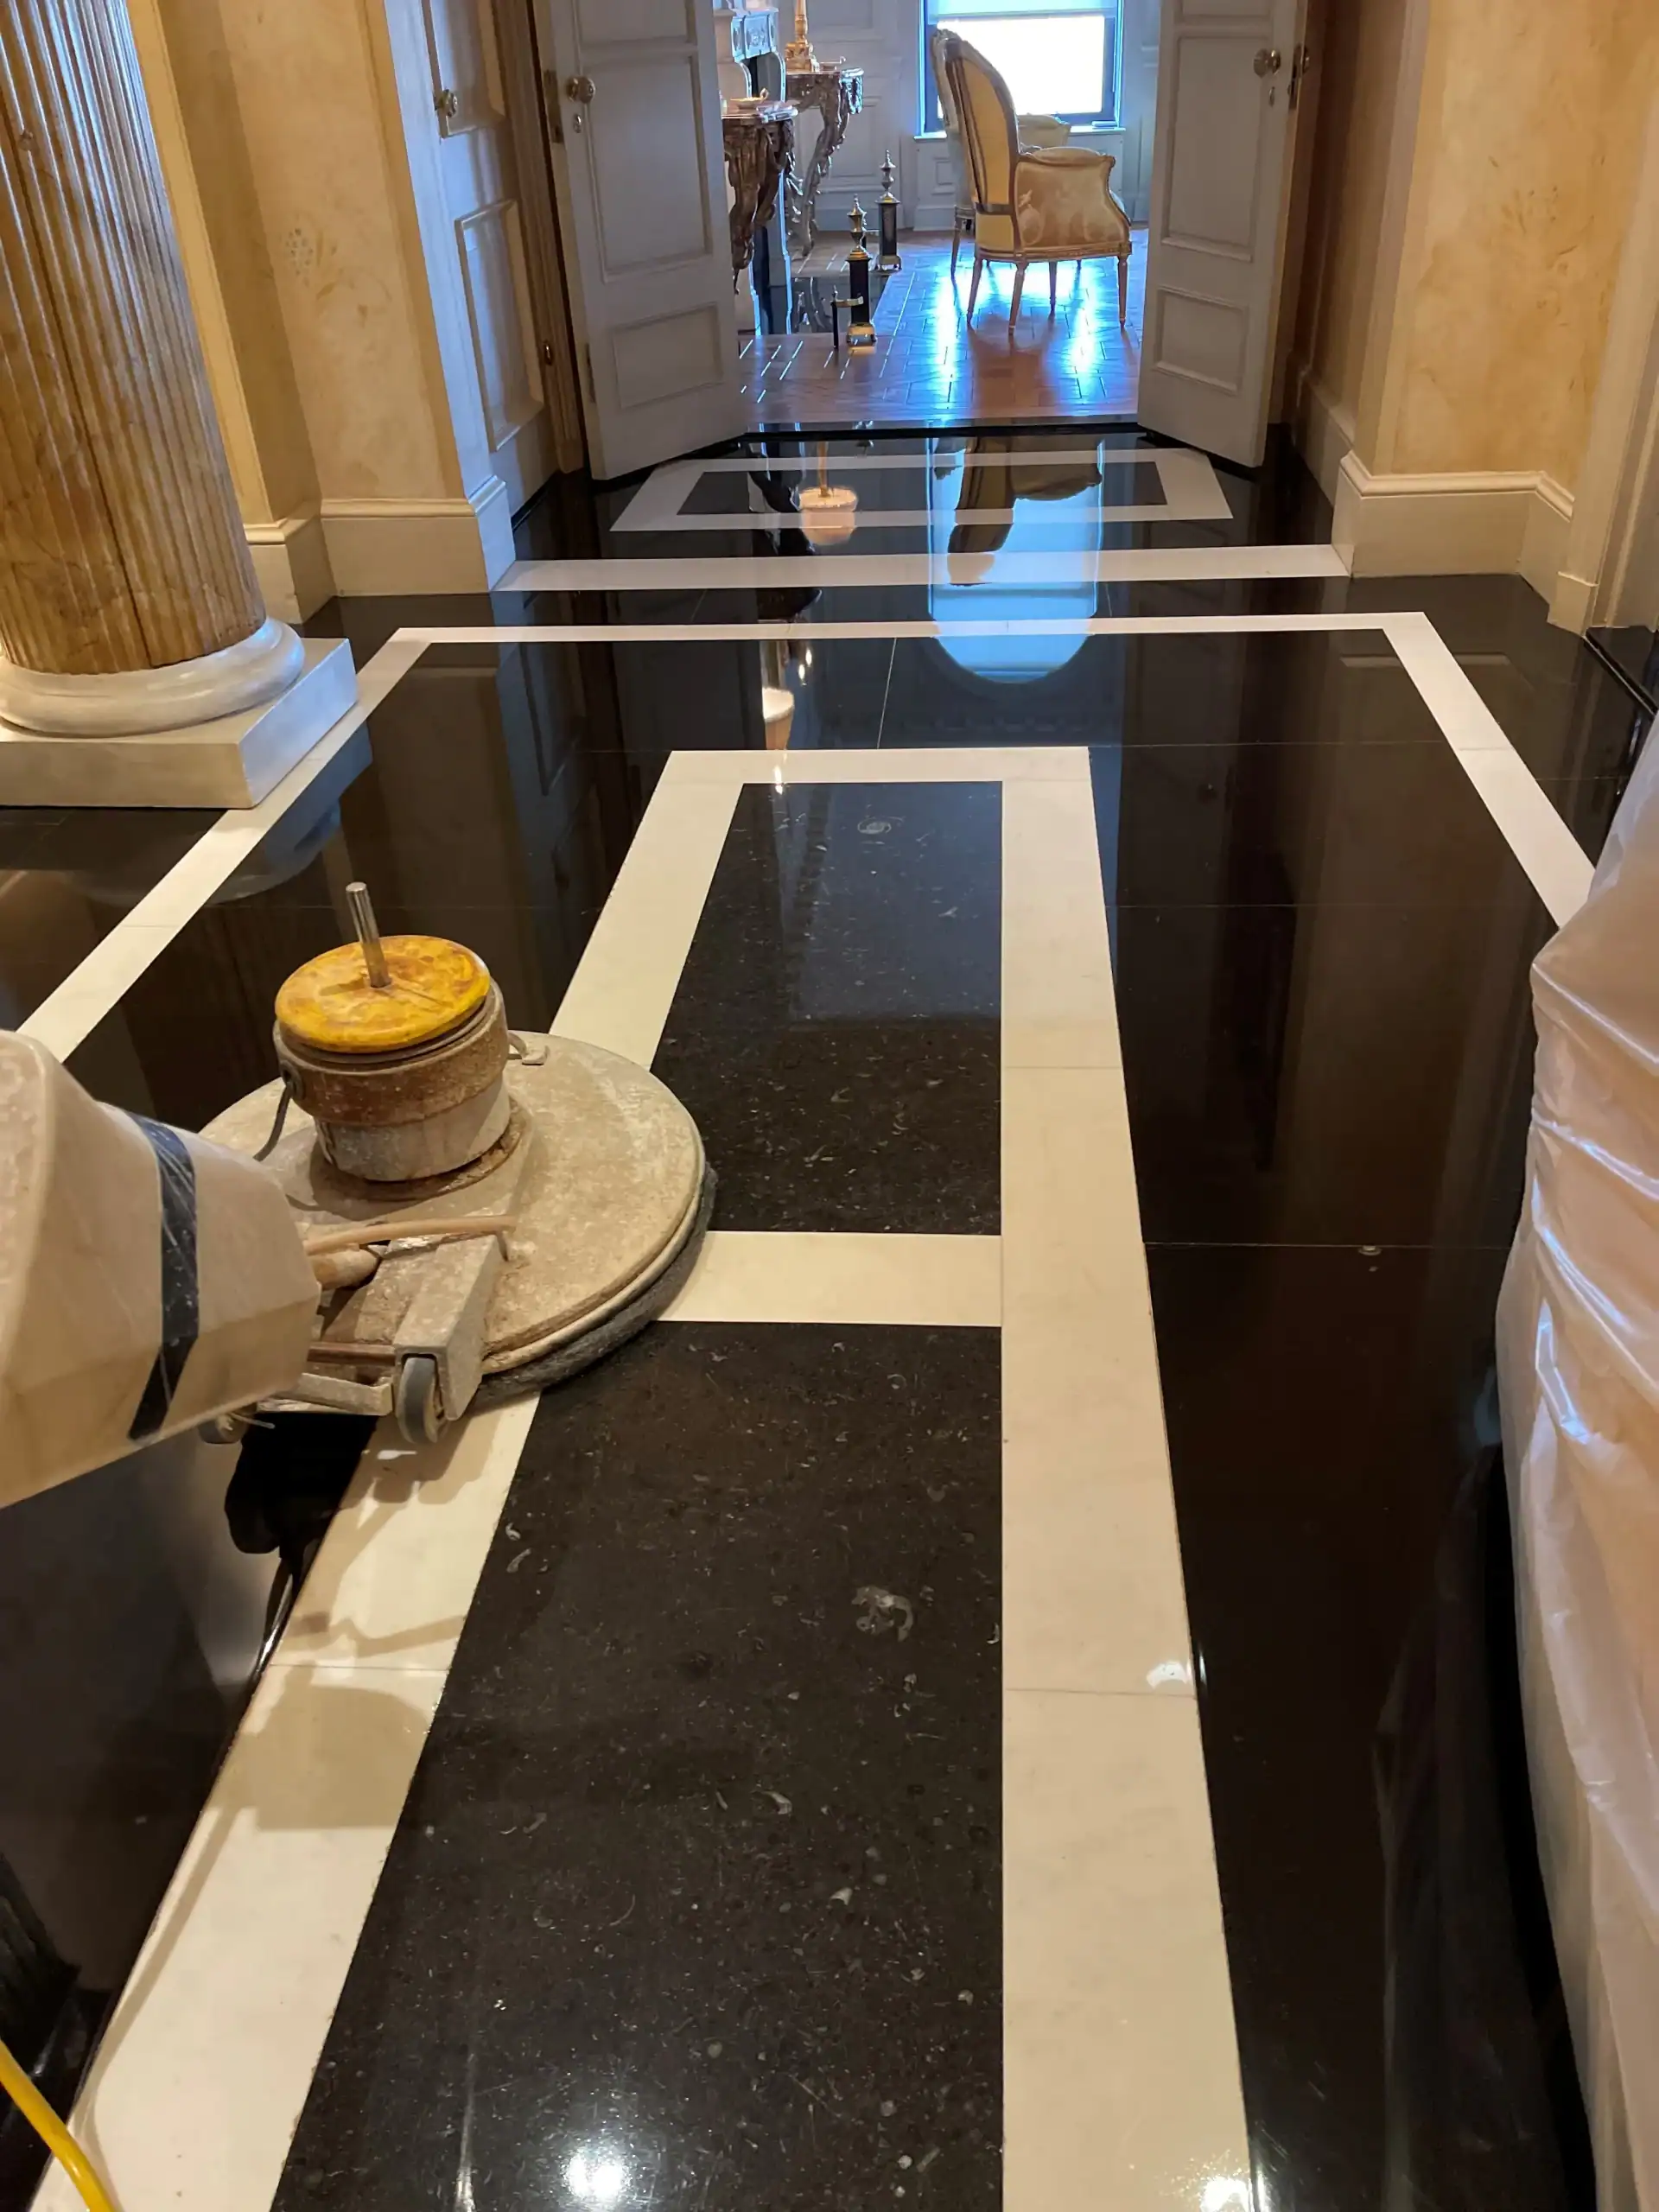
The process starts with diamond grinding, using metal-bonded diamond grits to remove deep scratches, etching, and lippage. This aggressive step flattens the floor and removes the damaged surface layer entirely. For historic floors common throughout Nassau and Suffolk Counties, this step requires particular care—the marble composition and original installation methods differ from modern materials, requiring specialized knowledge to avoid causing additional damage.
Honing comes next, using progressively finer diamond abrasives to smooth the surface. This step removes the rough texture left by grinding and begins creating the even surface needed for polishing. Lower grit pads (100, 200, 400) remove visible scratches and some stains. The marble develops a matte finish at this stage—smooth but not yet shiny.
Polishing follows honing, using even finer grits and polishing powders to bring out the marble’s natural luster. This step refines the surface to restore gloss and reflectivity. The smoothness created during polishing makes it easy for light to reflect from the surface, with each ray bouncing in the same direction to create that mirror-like appearance. The level of shine achieved depends on the desired finish—high gloss for formal spaces or a softer honed finish for areas where scratches would show more readily.
Sealing completes the process, though it’s crucial to understand what sealing does and doesn’t do. Professional-grade penetrating sealers protect against staining by preventing liquid absorption into the marble’s pores. However, sealers provide no protection against etching—acid reactions occur on the surface regardless of sealing. The sealer should be part of a broader care plan focused on spill response and using only pH-neutral cleaners designed specifically for marble.
The entire process typically takes one to three days depending on the floor’s size and damage severity. Simple polishing might be completed in a day, while extensive restoration with grinding and repair work typically requires two to three days. The work is efficient but never rushed—each stage must be completed properly before moving to the next.
The internet offers countless DIY marble restoration methods—baking soda pastes, polishing powders, etch remover kits. Some provide minor improvement on very light damage, but they can’t address the fundamental problems that cause marble to lose its shine. More concerning, many DIY attempts create new problems that make professional restoration more difficult and expensive.
Consumer-grade products lack the precision and power needed for true restoration. Marble polishing requires specific grit sequences and controlled pressure to achieve uniform results. Without professional equipment, DIY attempts often create uneven finishes, swirl marks, or over-polished spots that look worse than the original damage. The highly reflective nature of polished marble makes any imperfections immediately visible.
Etch remover compounds sold for home use work only on very minor surface etching. They can polish out light, superficial marks where the damage hasn’t penetrated deeply. But widespread etching, deep pitting, or damage that feels rough to the touch requires grinding to remove the damaged layer entirely. No amount of hand polishing with consumer products will address this level of damage.
Baking soda, tin oxide powder, and similar home remedies create temporary improvement at best. These mild abrasives can brighten the surface slightly through gentle polishing action, but they don’t remove damaged layers or rebuild the finish. The results typically last only days or weeks before the marble looks dull again. Worse, repeated use can create uneven wear patterns that professional restorers must then correct.
The biggest risk with DIY approaches is causing additional damage. Using the wrong products, applying too much pressure, or working in the wrong sequence can etch the marble further, create scratches, or remove too much material in some areas while leaving other areas untouched. Marble restoration requires understanding how different marble types respond to various techniques—knowledge that comes from years of experience, not internet tutorials.
For historic marble floors common in Nassau and Suffolk County homes, DIY attempts pose even greater risks. Century-old marble often has different composition and characteristics than modern stone. The original installation methods, marble thickness, and decades of wear create unique challenges. Generic restoration approaches can actually decrease the value of historic marble by making it look “too new” or damaging irreplaceable period materials.
Professional restoration succeeds where DIY fails because it addresses damage at its source. The systematic grinding, honing, and polishing sequence removes damaged layers entirely and rebuilds the finish using techniques and equipment that simply aren’t available to homeowners. The results last for years rather than days, making professional restoration far more cost-effective than repeated DIY attempts.
Your dull, damaged marble floors don’t have to stay that way. Understanding the science behind marble damage—how acids dissolve calcium carbonate, how wear destroys the polished surface, how wrong cleaners accelerate deterioration—helps you see why professional restoration delivers results that DIY methods and basic cleaning can’t match.
Professional restoration addresses damage at its source through systematic grinding, honing, and polishing that removes damaged layers and rebuilds the finish. The process works because it’s based on understanding marble’s chemical composition and how different techniques affect the stone. Results typically last 10-15 years with proper maintenance, making restoration a smart investment that costs 60-80% less than replacement.
For Nassau and Suffolk County homeowners, especially those with historic properties featuring irreplaceable period marble, professional restoration preserves authentic character while bringing surfaces back to stunning condition. We specialize in exactly this kind of work—the challenging historic floors and severely damaged surfaces that other contractors avoid, bringing 25+ years of experience to every project.
Article details:
Share:
Continue learning: